Walkthrough Building your first USSD app
March 11, 2023
1. login into your Account
2. On home Dashboard, Click on New App
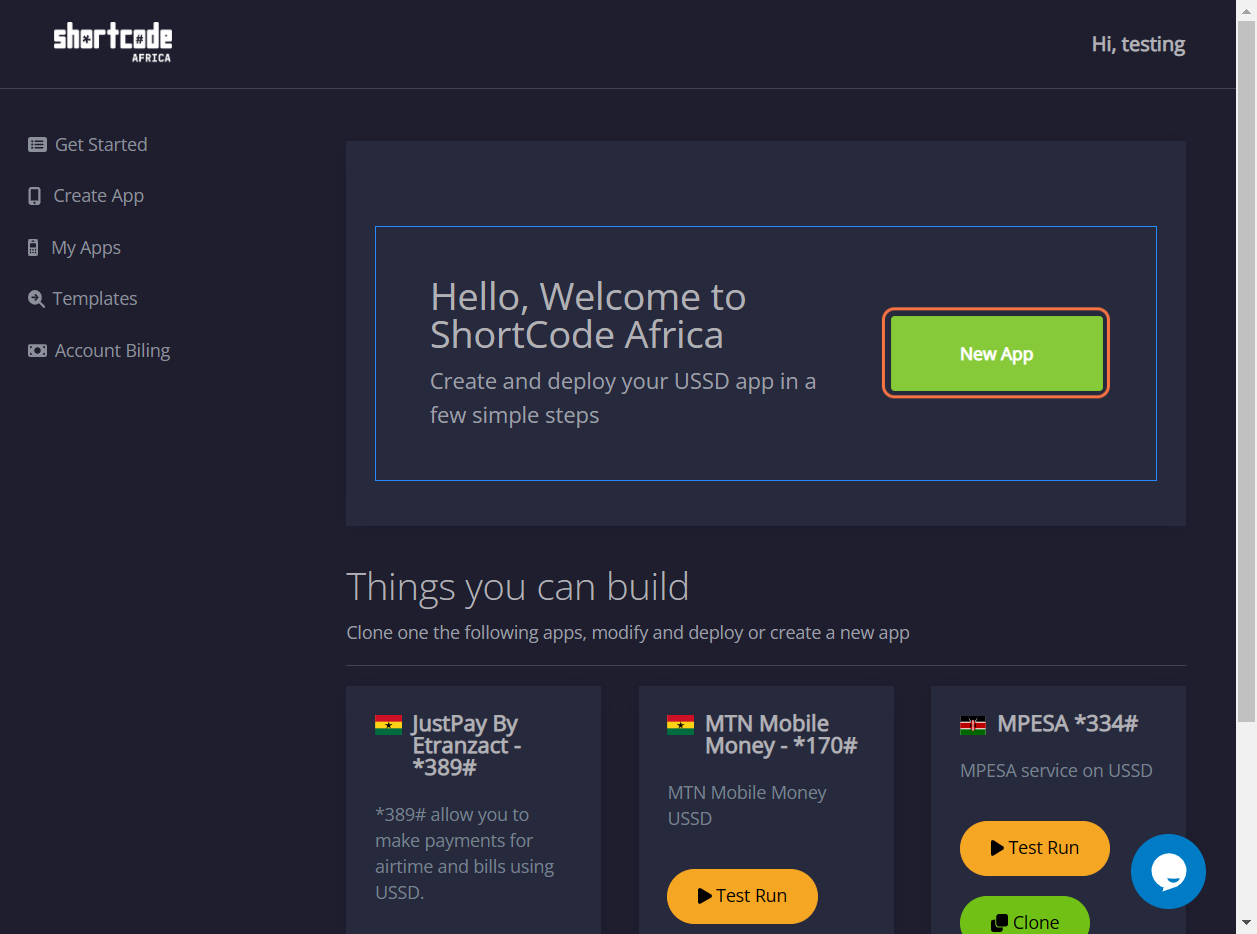
3. Click on New App
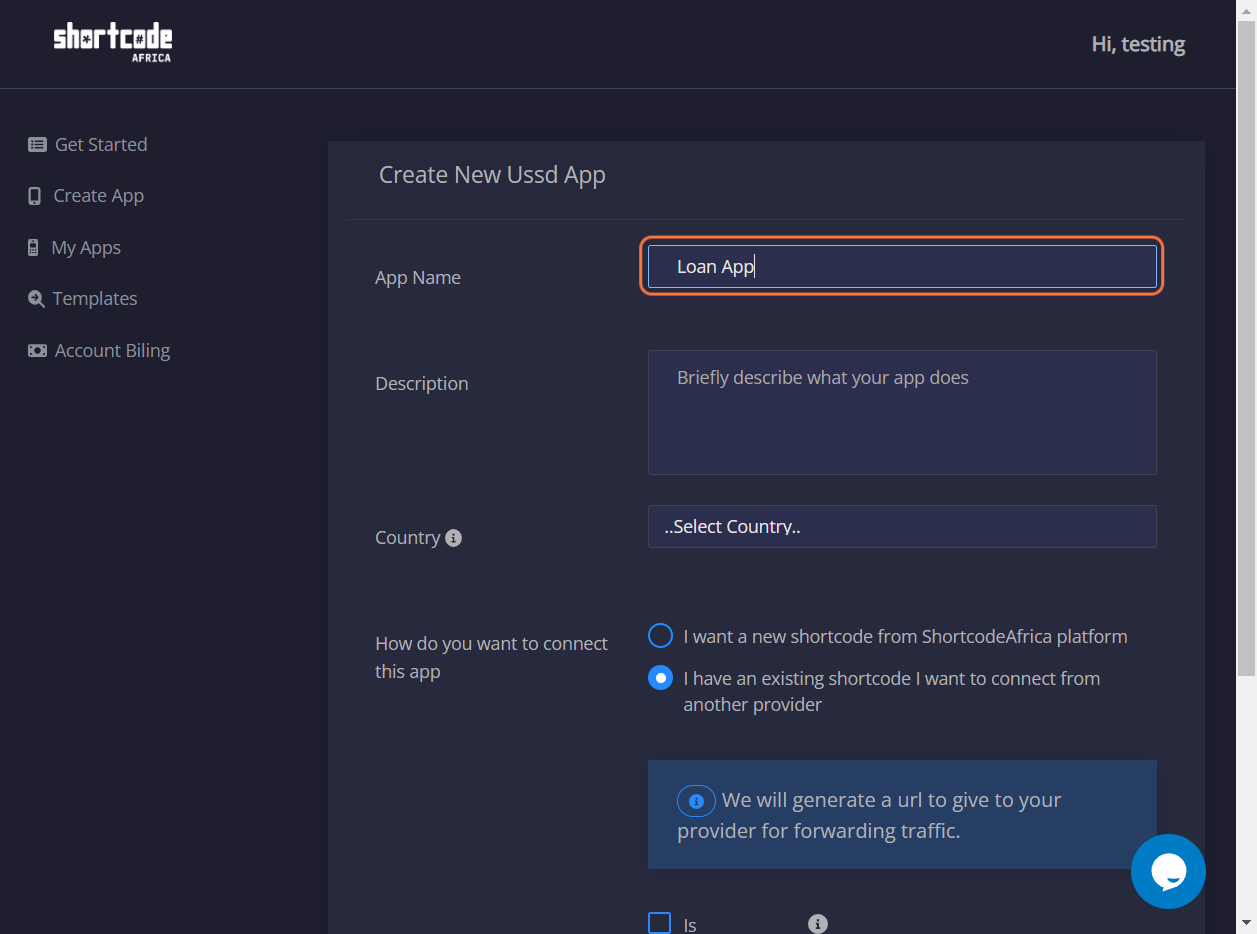
4. inpute a name for identification of the App
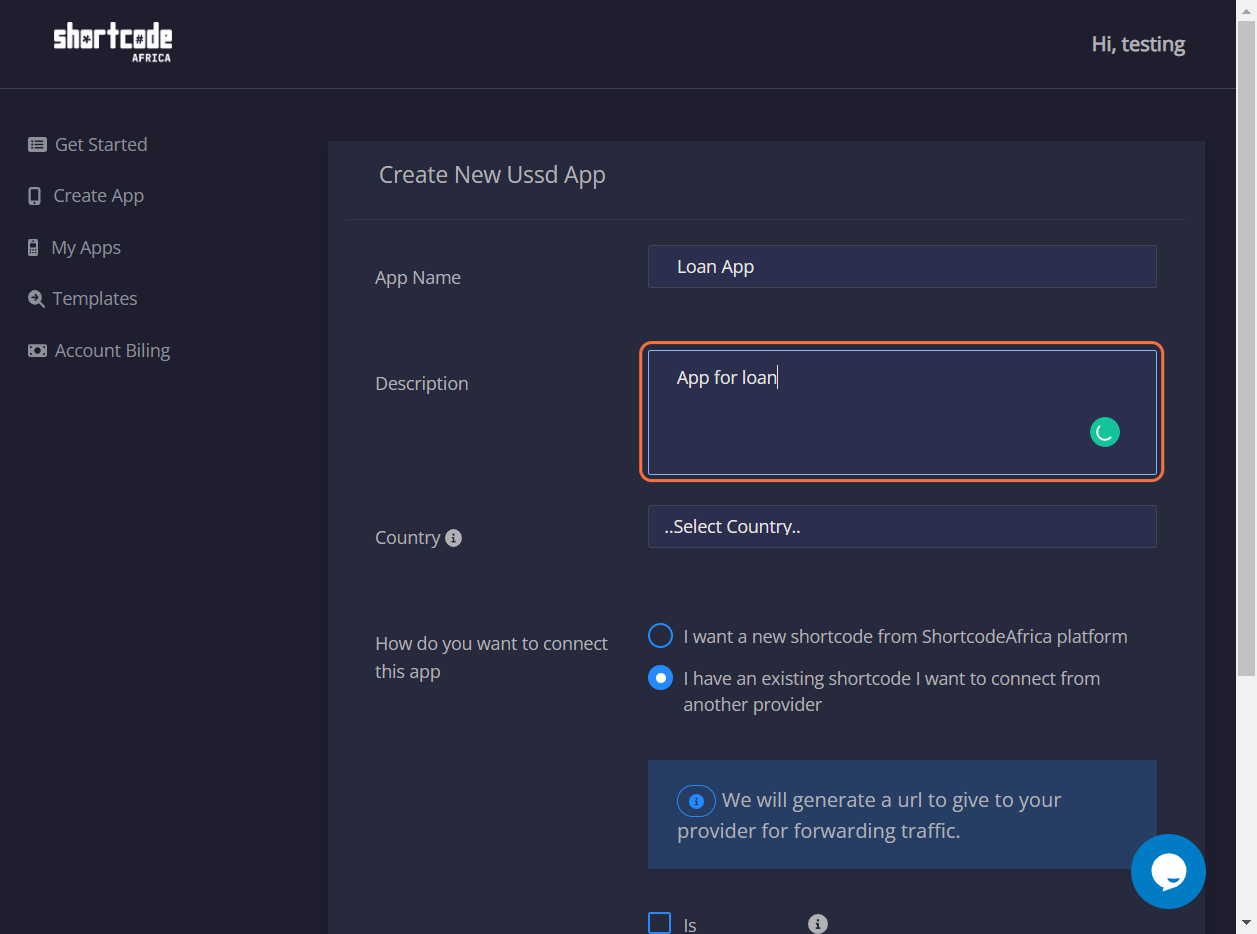
5. give a Description "
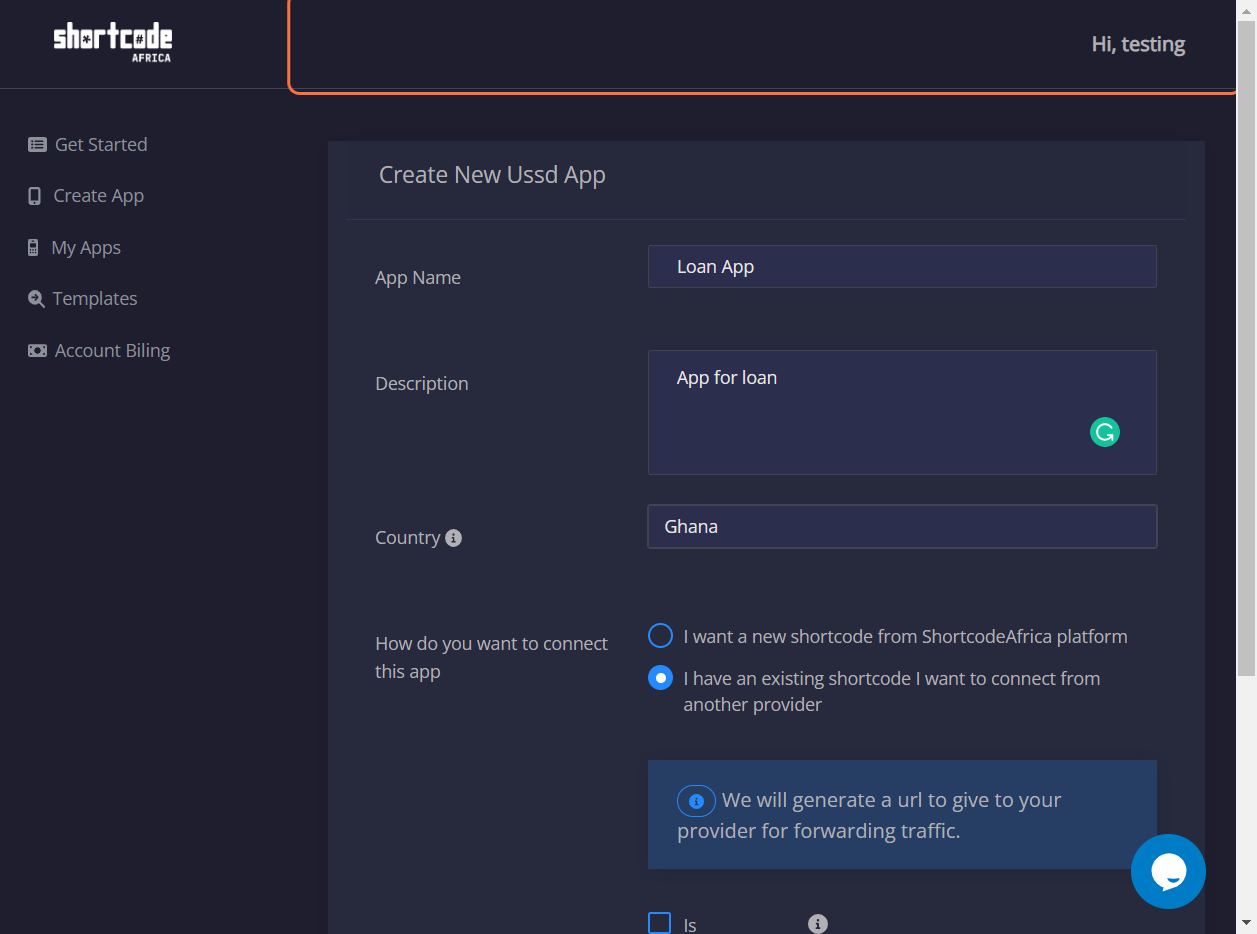
6. Select A Country you create the App for
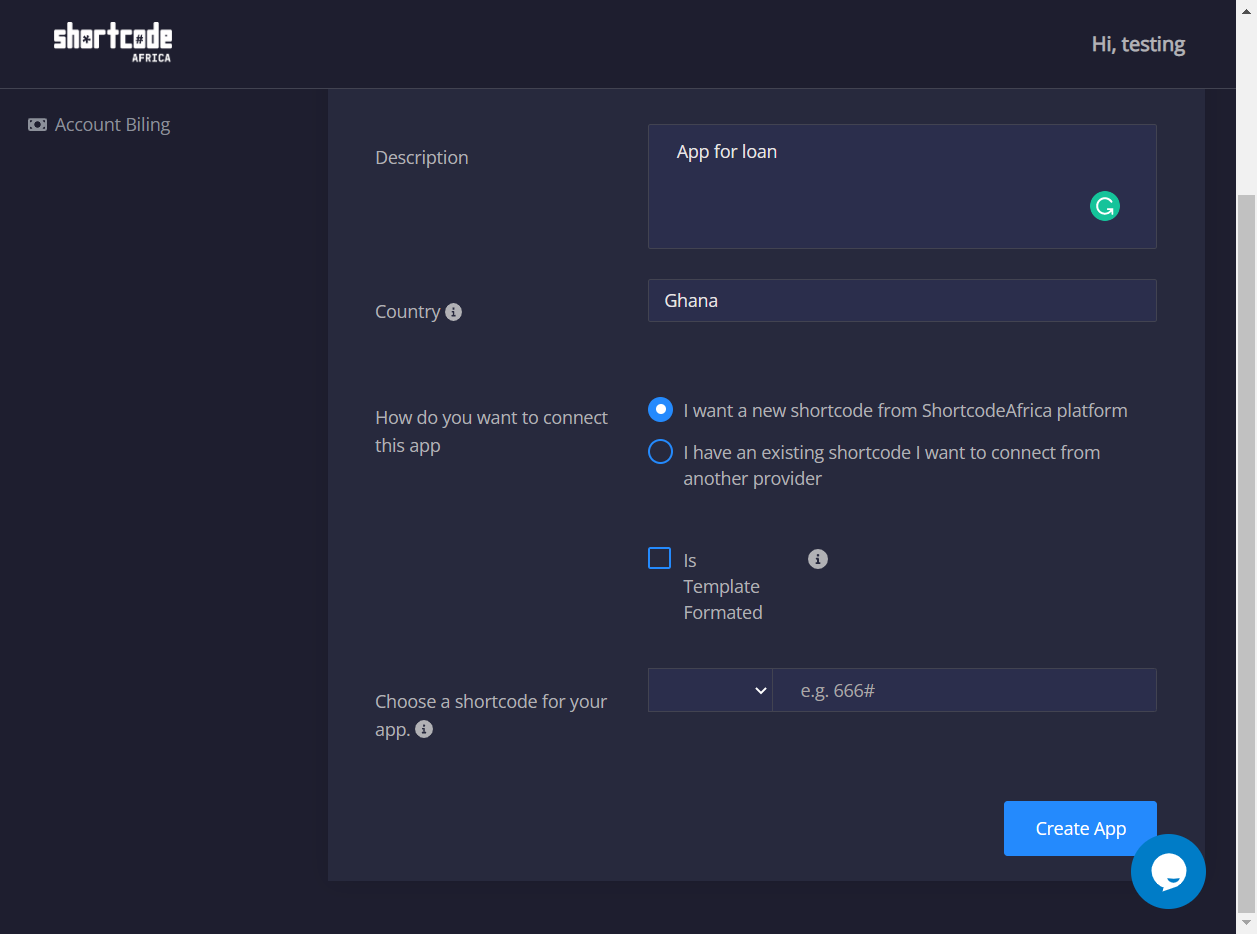
7. Select your prefer option from the options below.
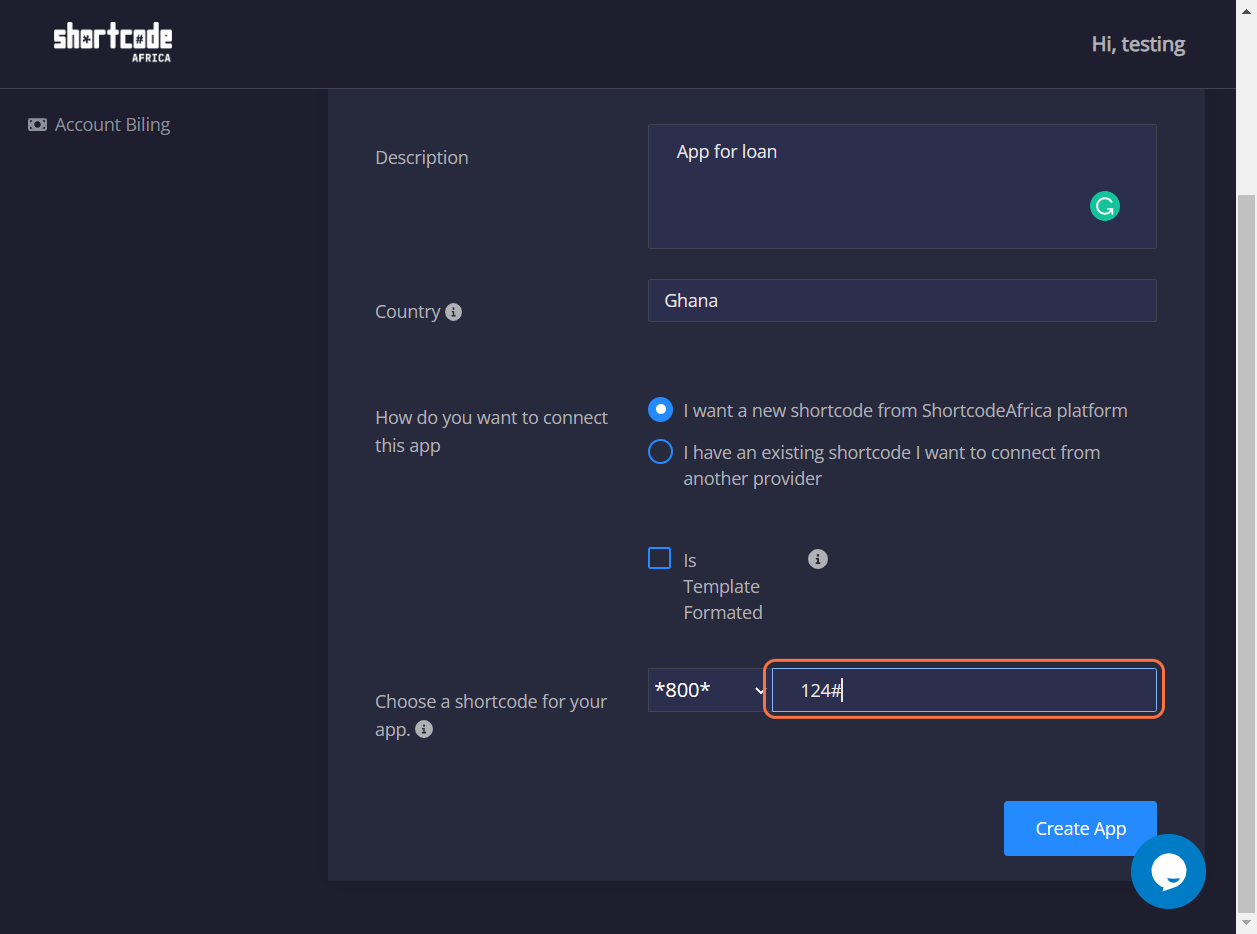
8. input your prefer shortcode for testing
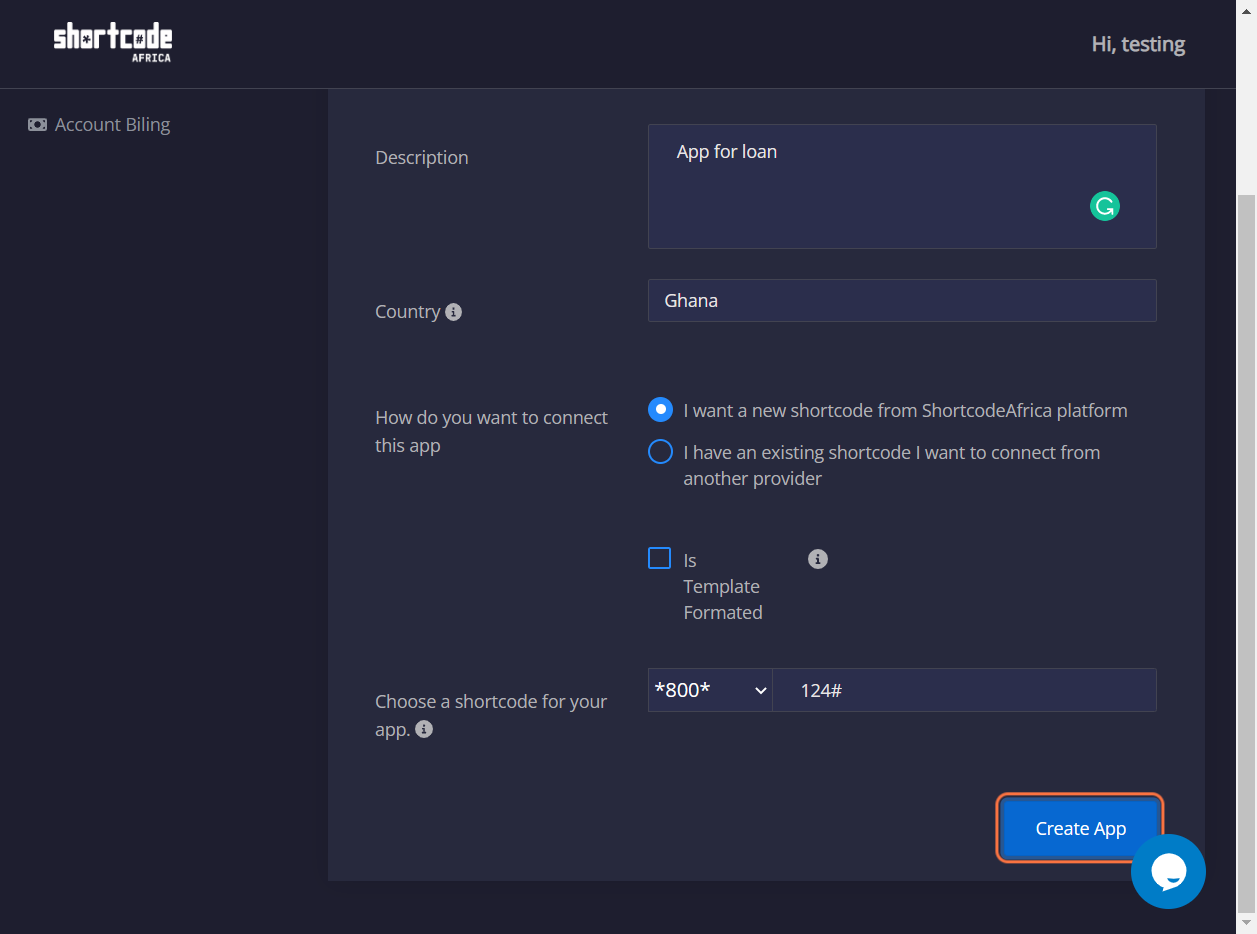
9. Click on Create App
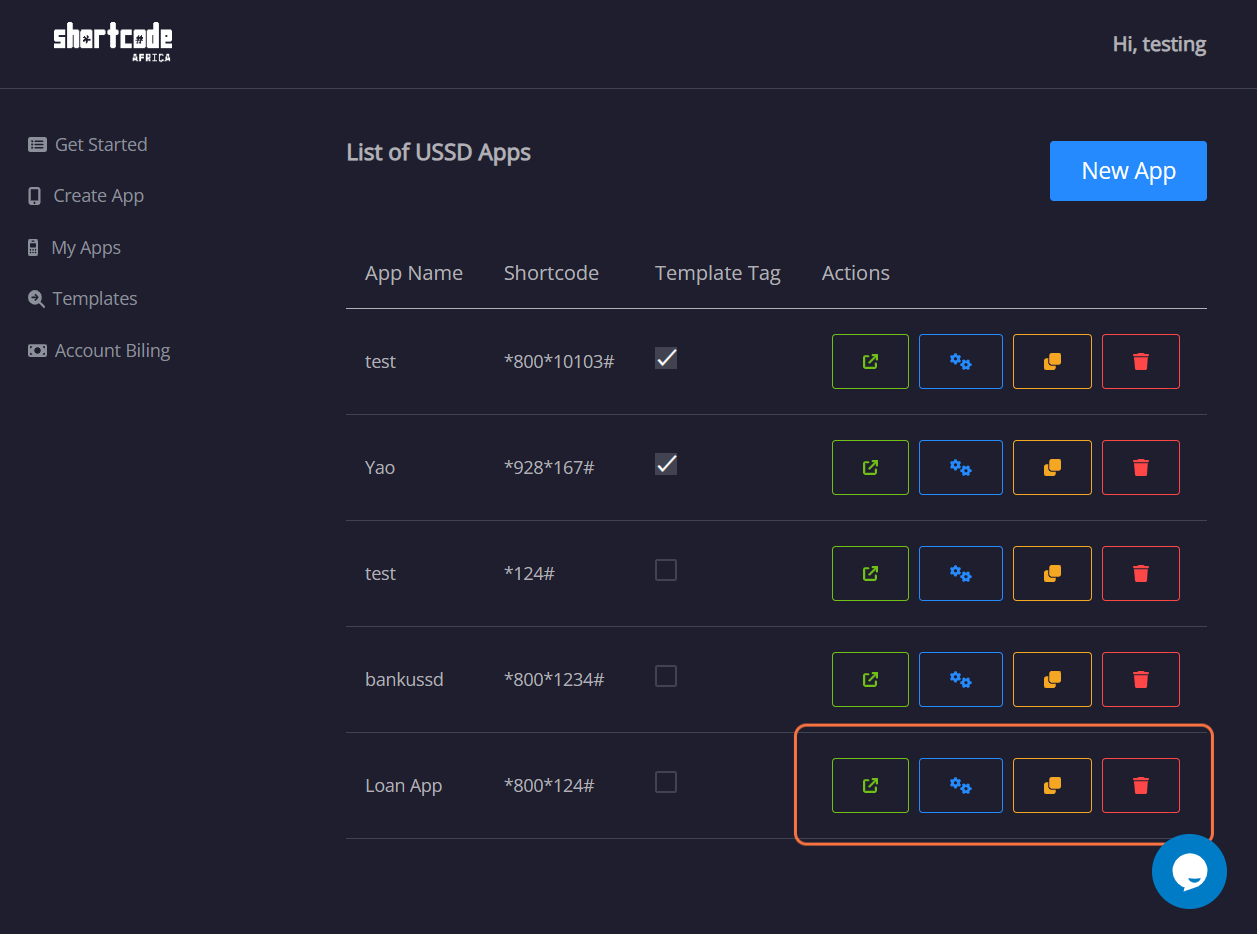
10. On your List of USSD Apps Page
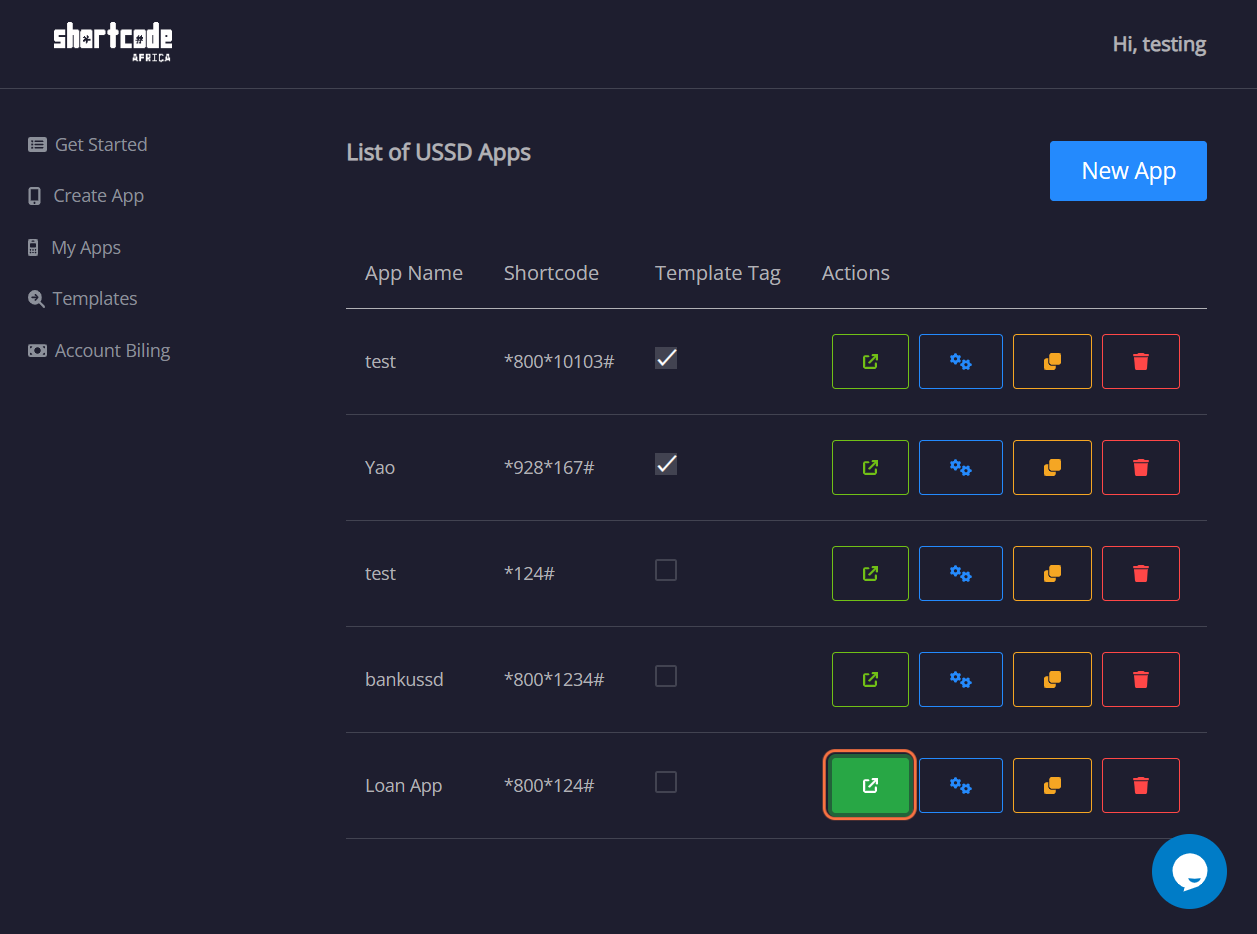
11. Click on Open Designer
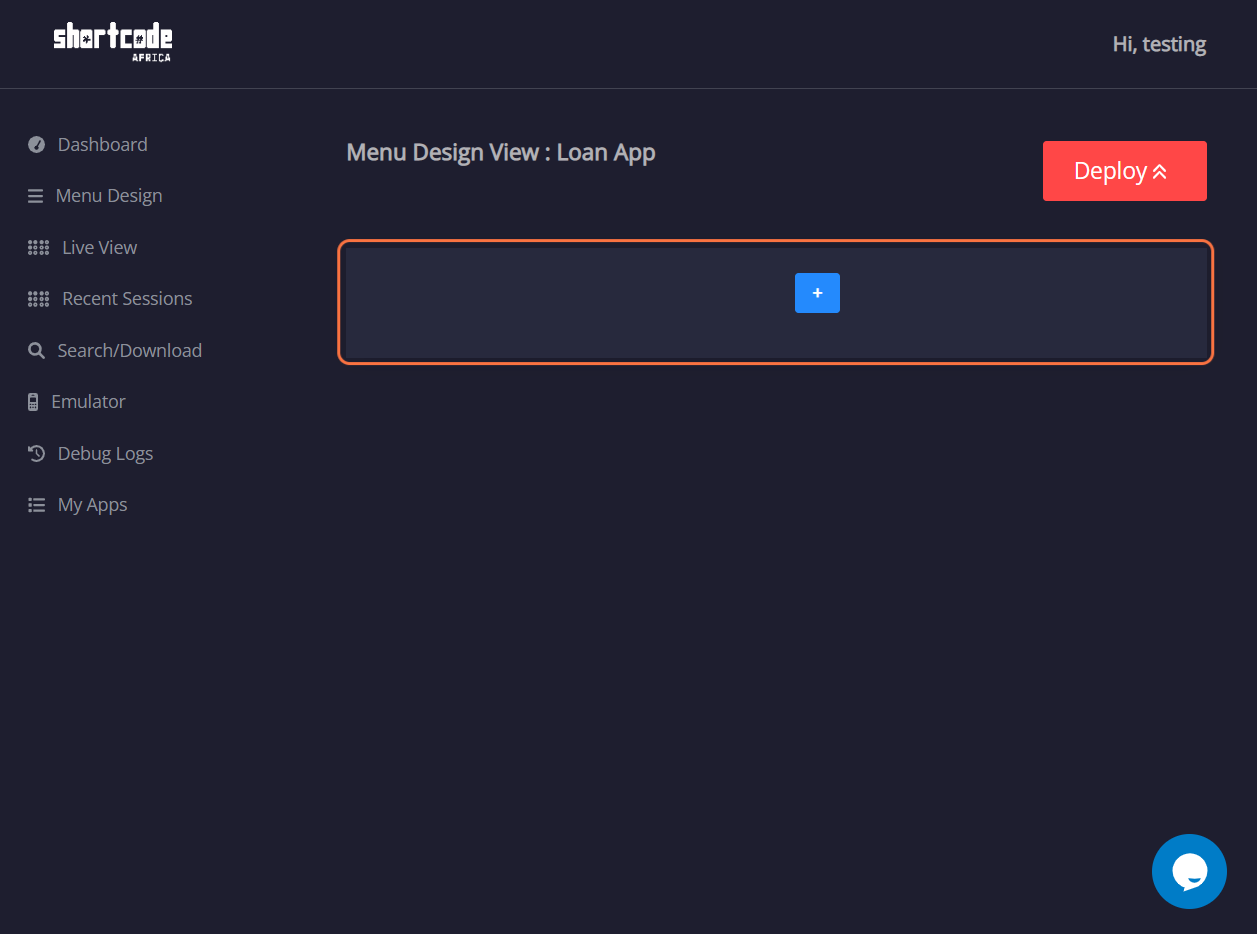
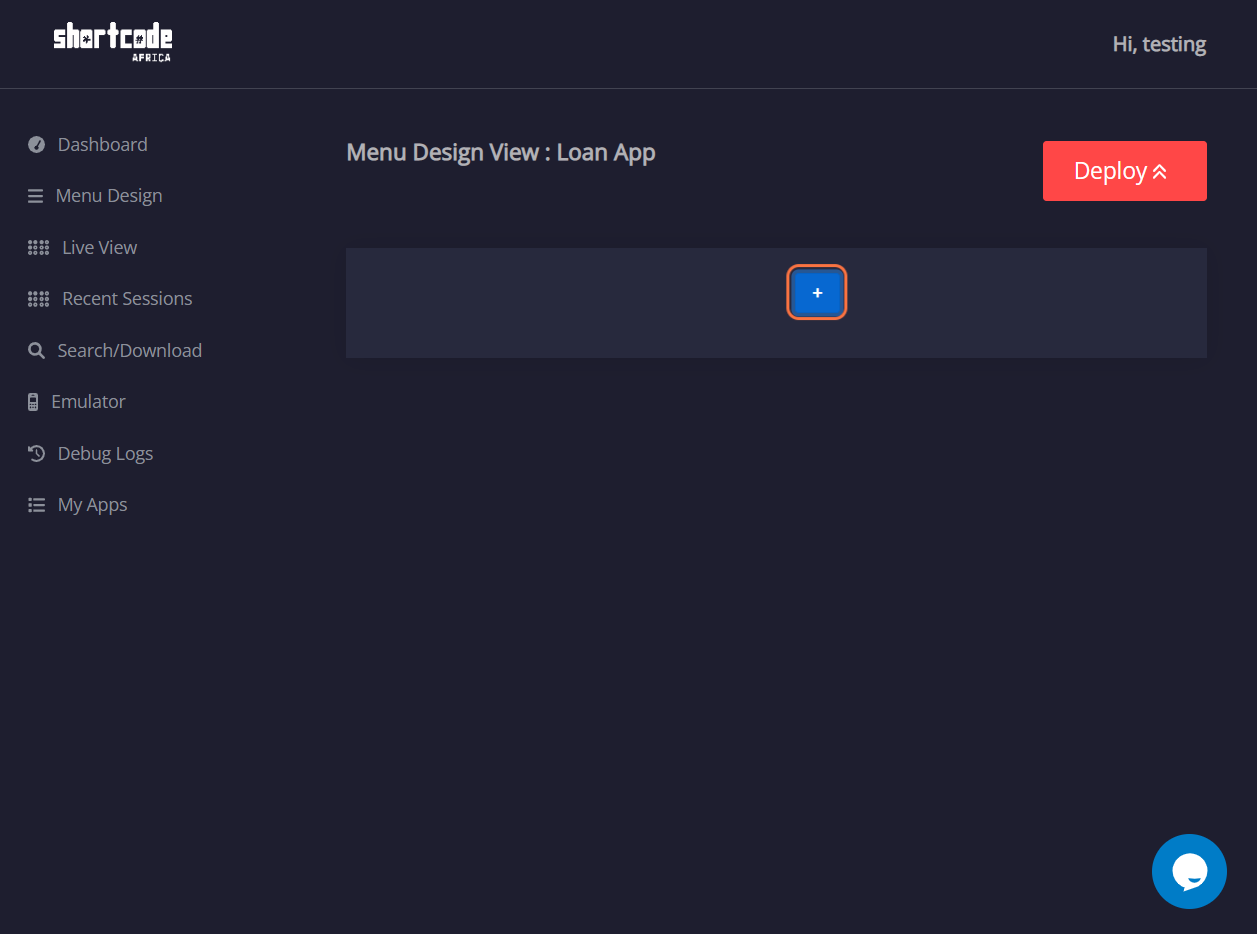
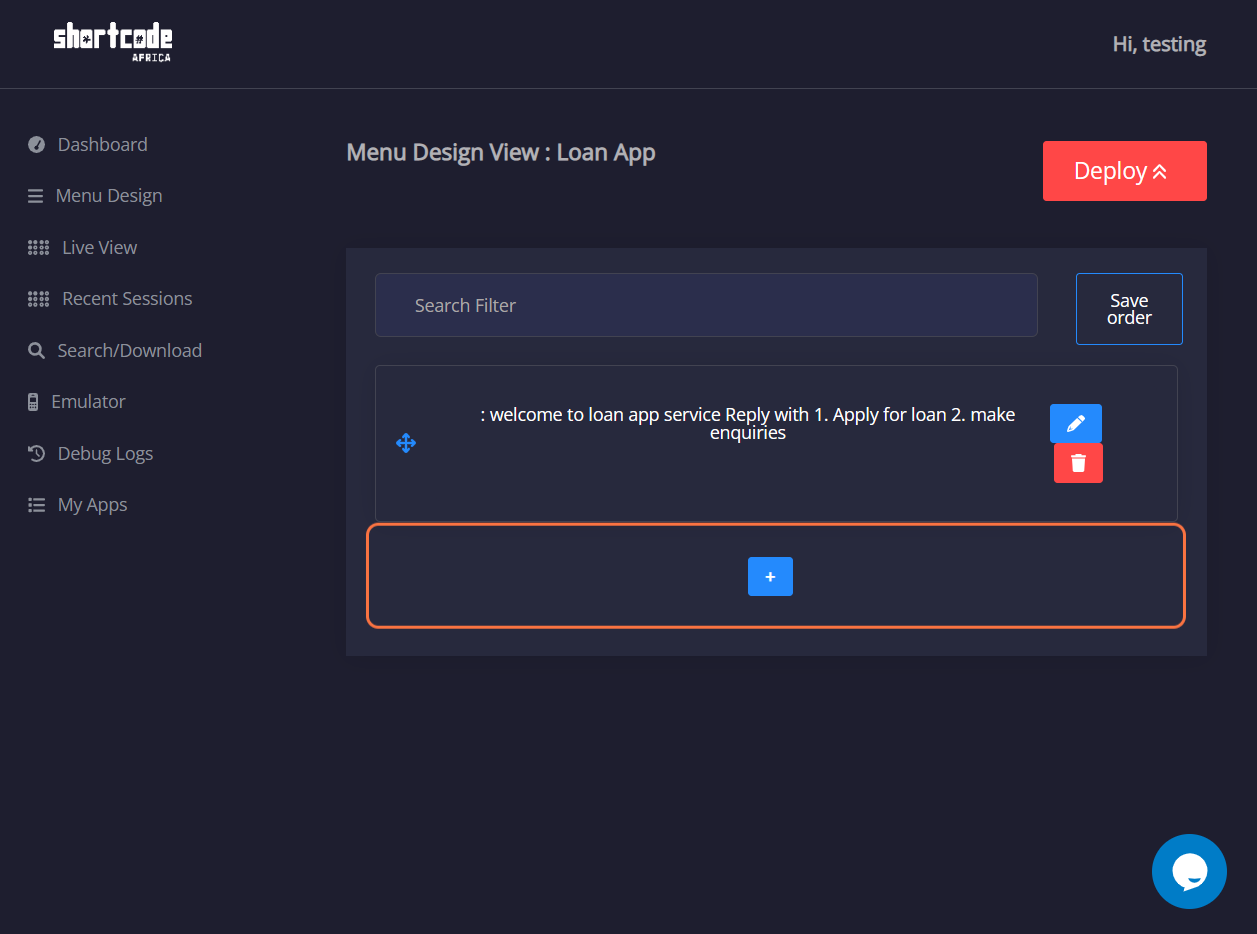
12. Click on the blue icon with the + symbol
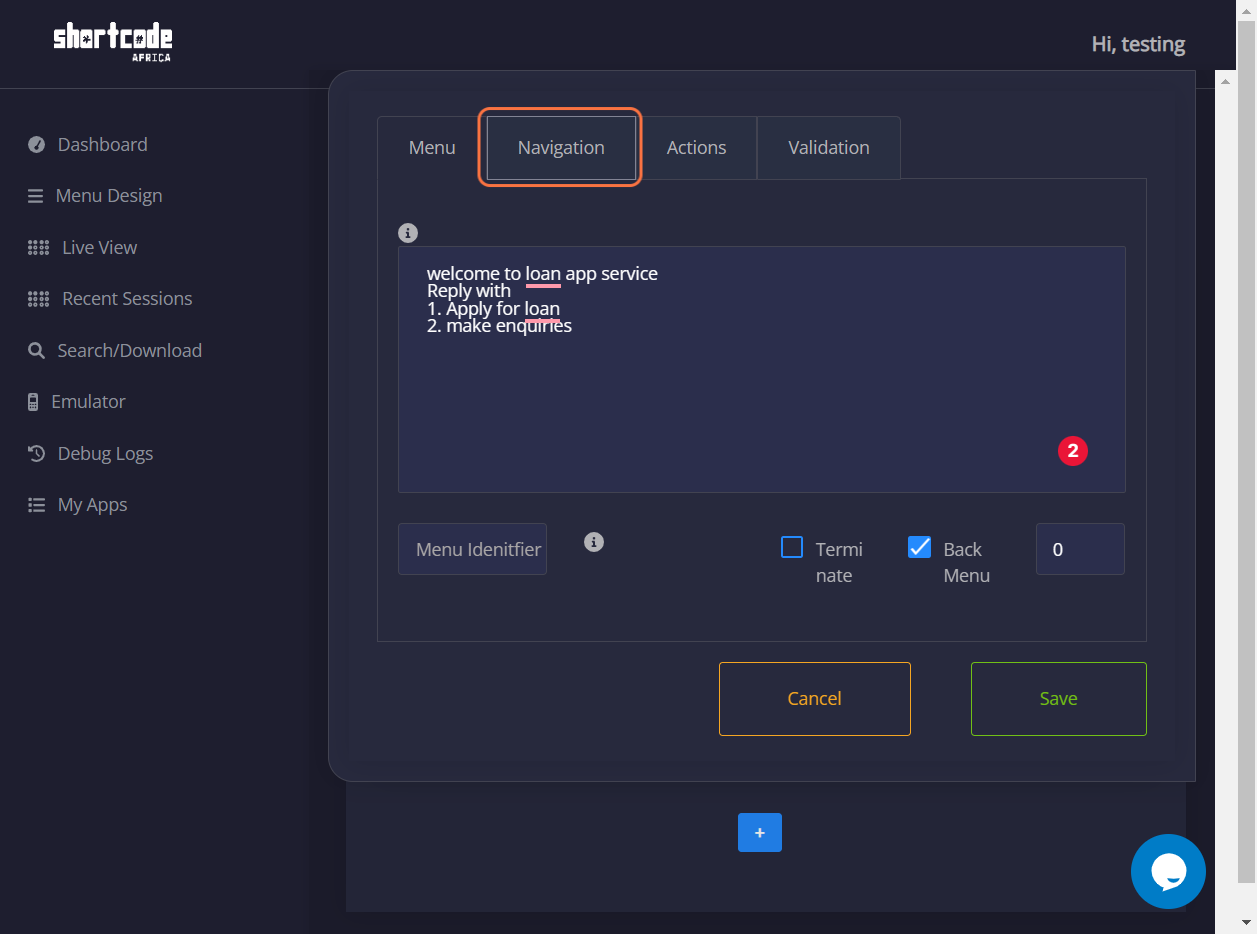
13. Click on Menu
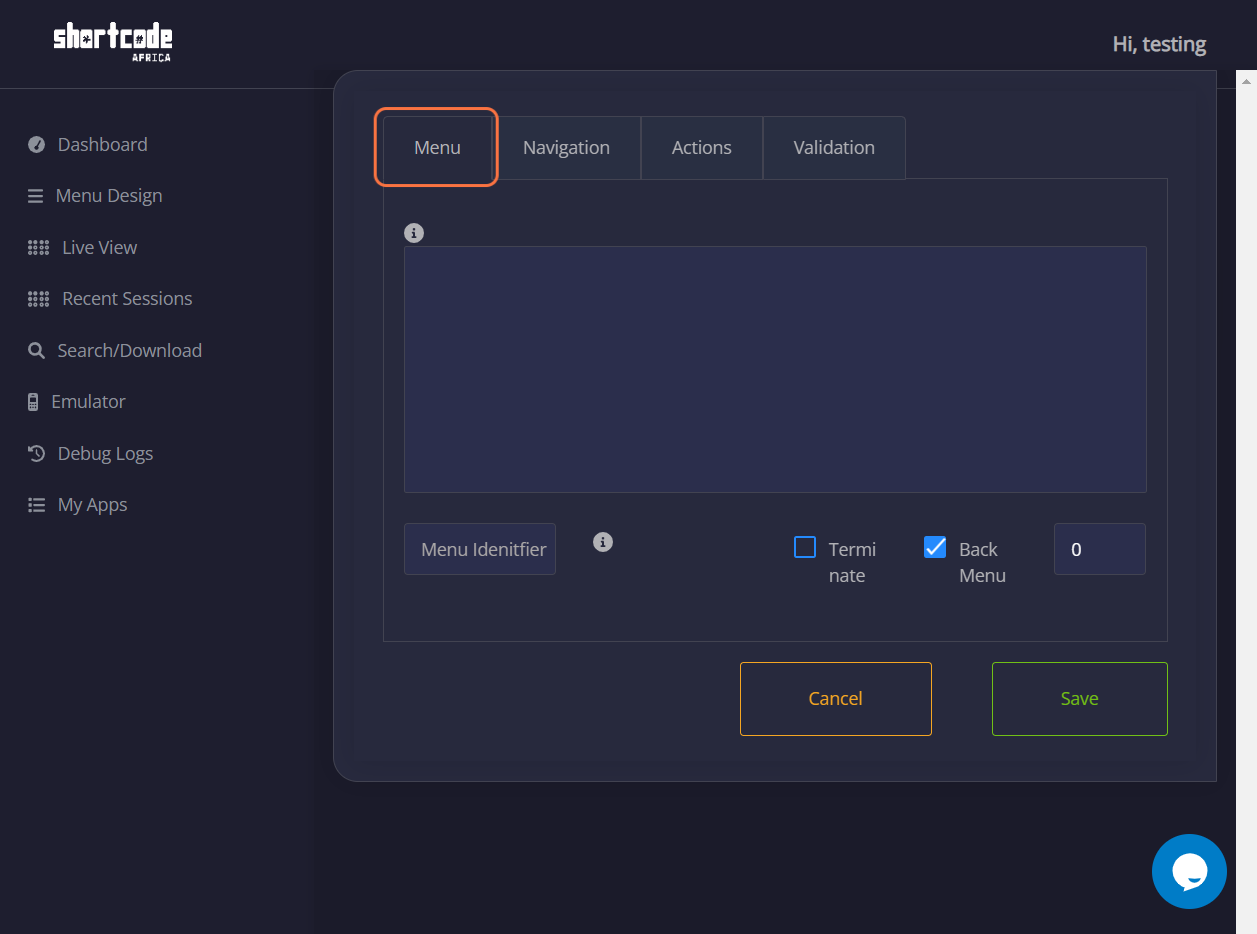
14. On the Menu Space provided
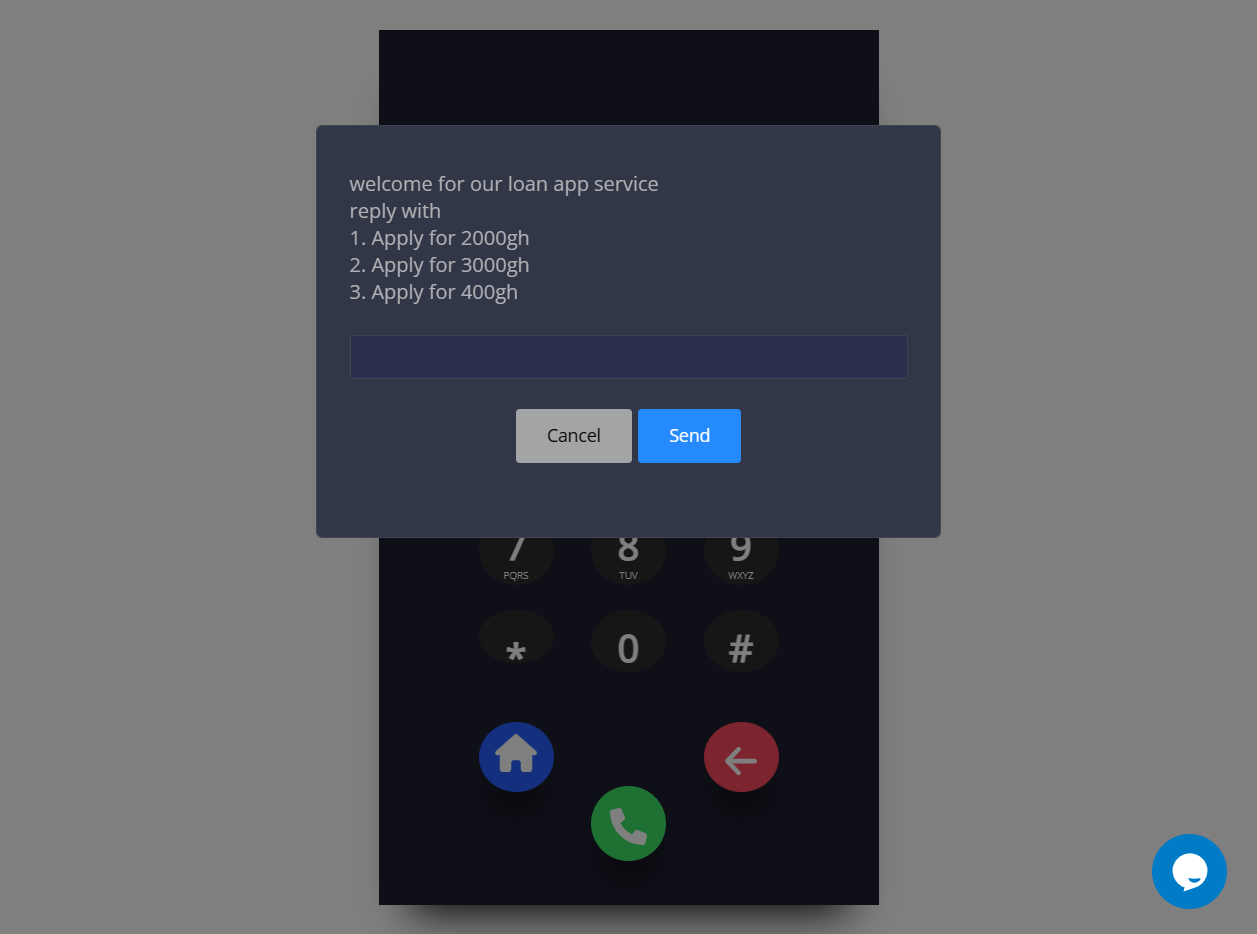
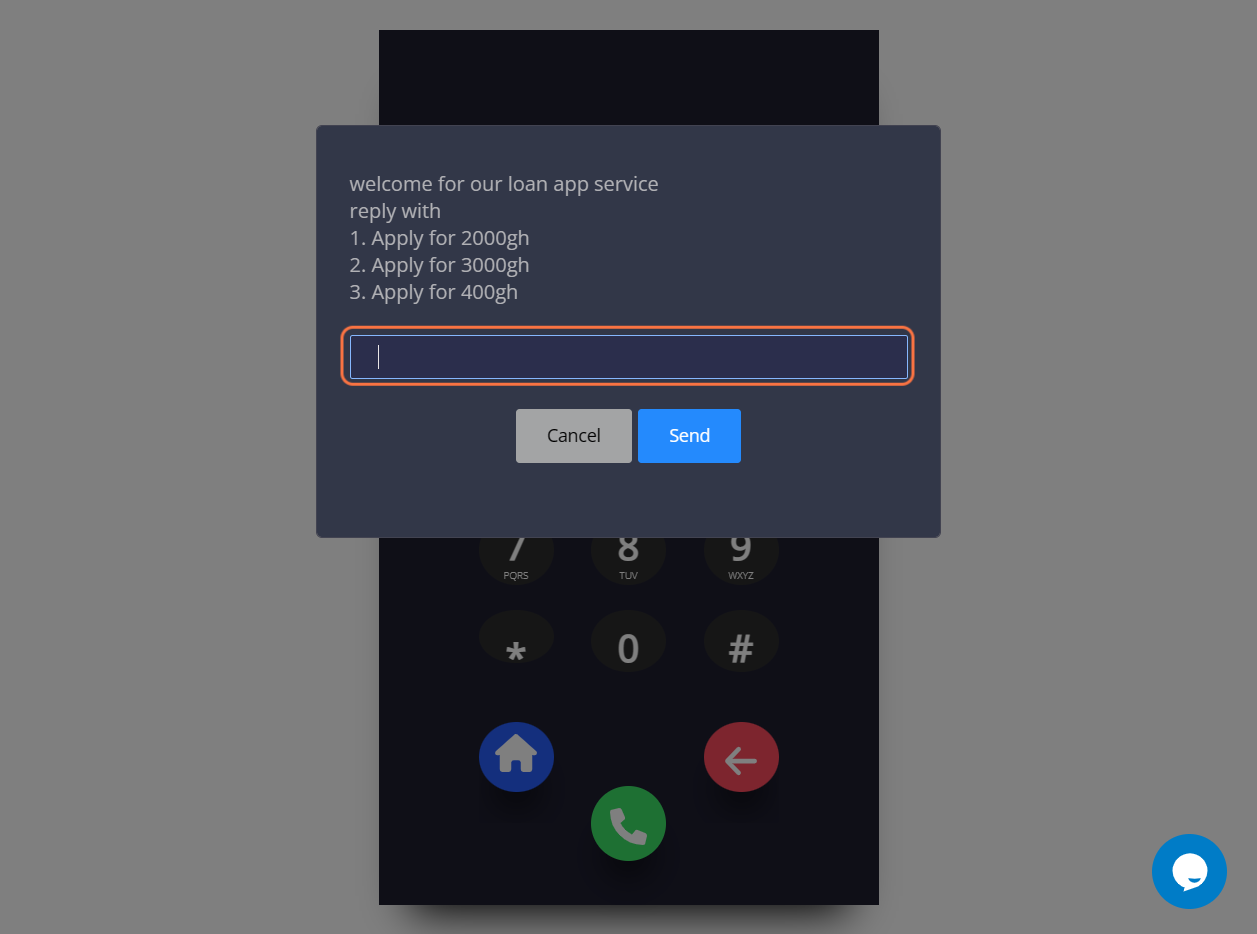
- Add your menu options. For example, Welcome to .... Please Reply with
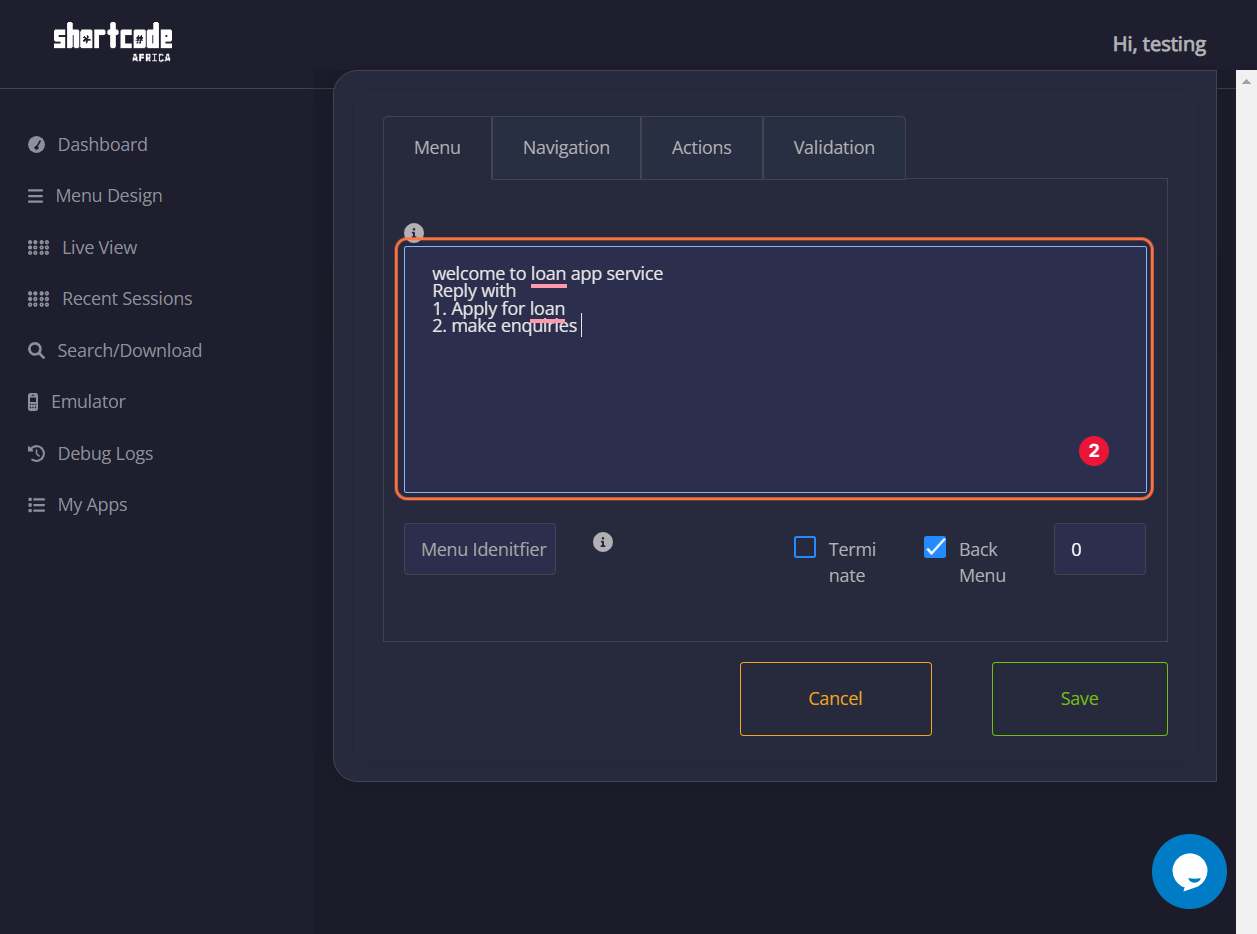
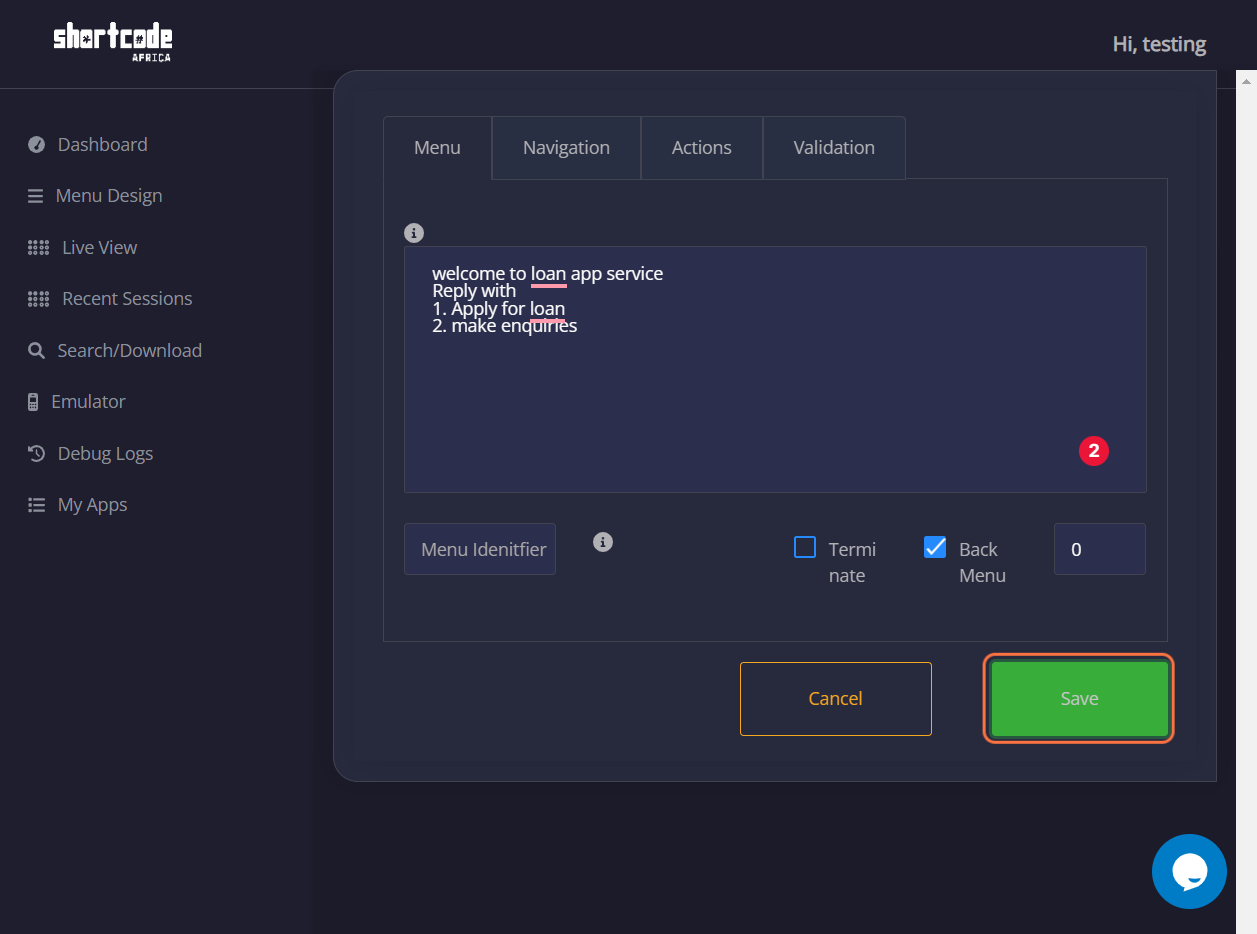
15. Click on Save
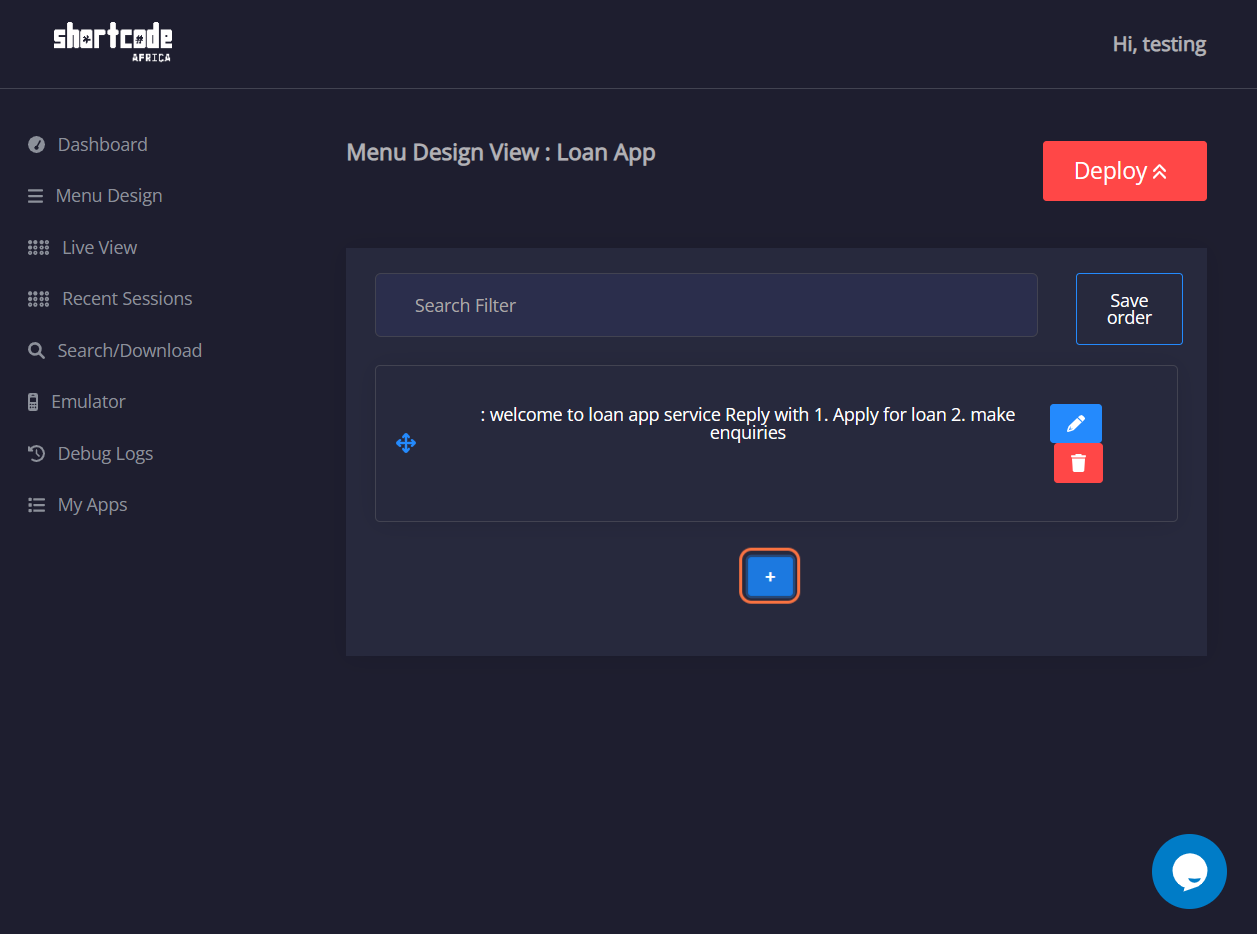
16. On Menu Design View Page, Click on the blue icon with the + symbol
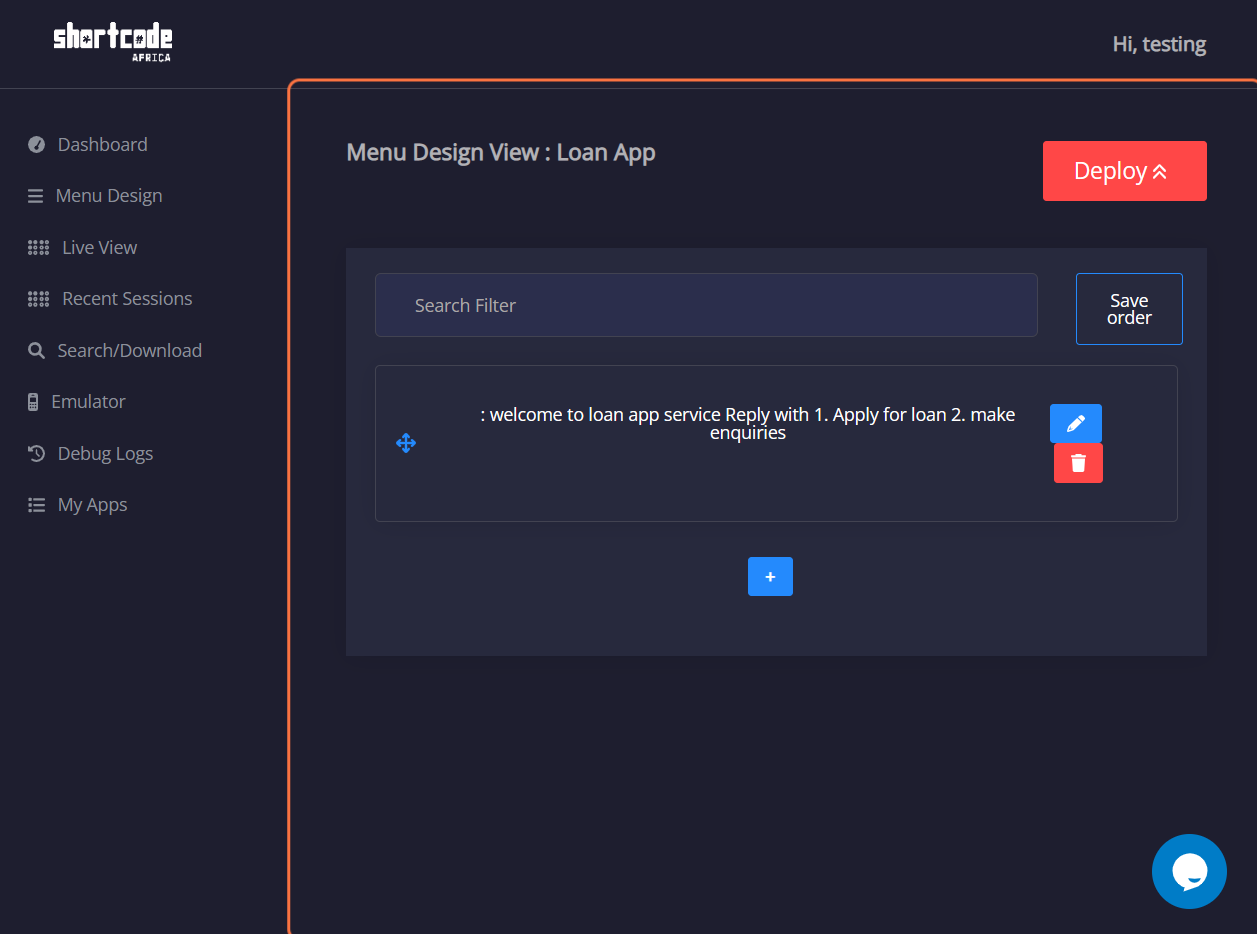
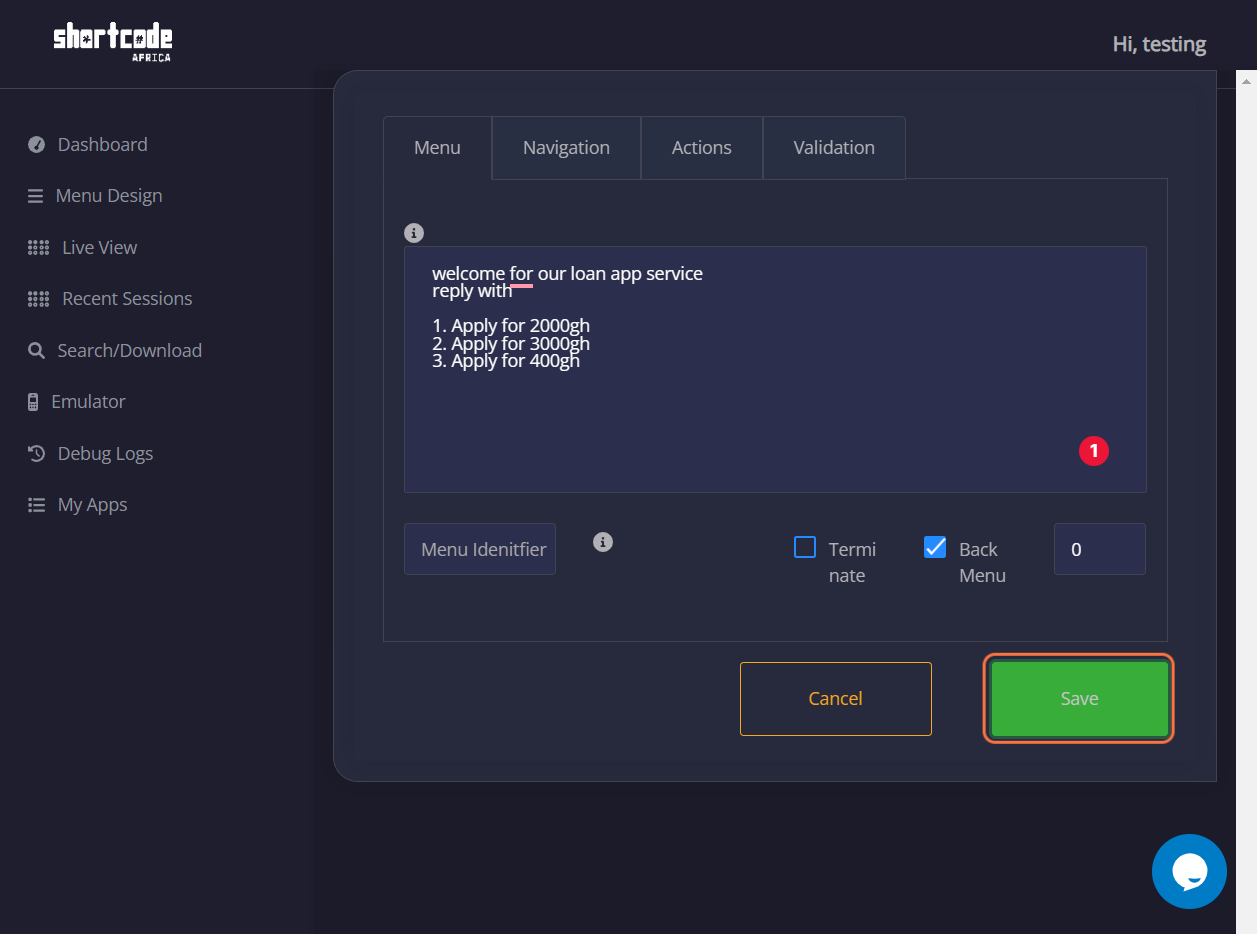
17. Type your welcome Message with your menu options
18. Click on Save
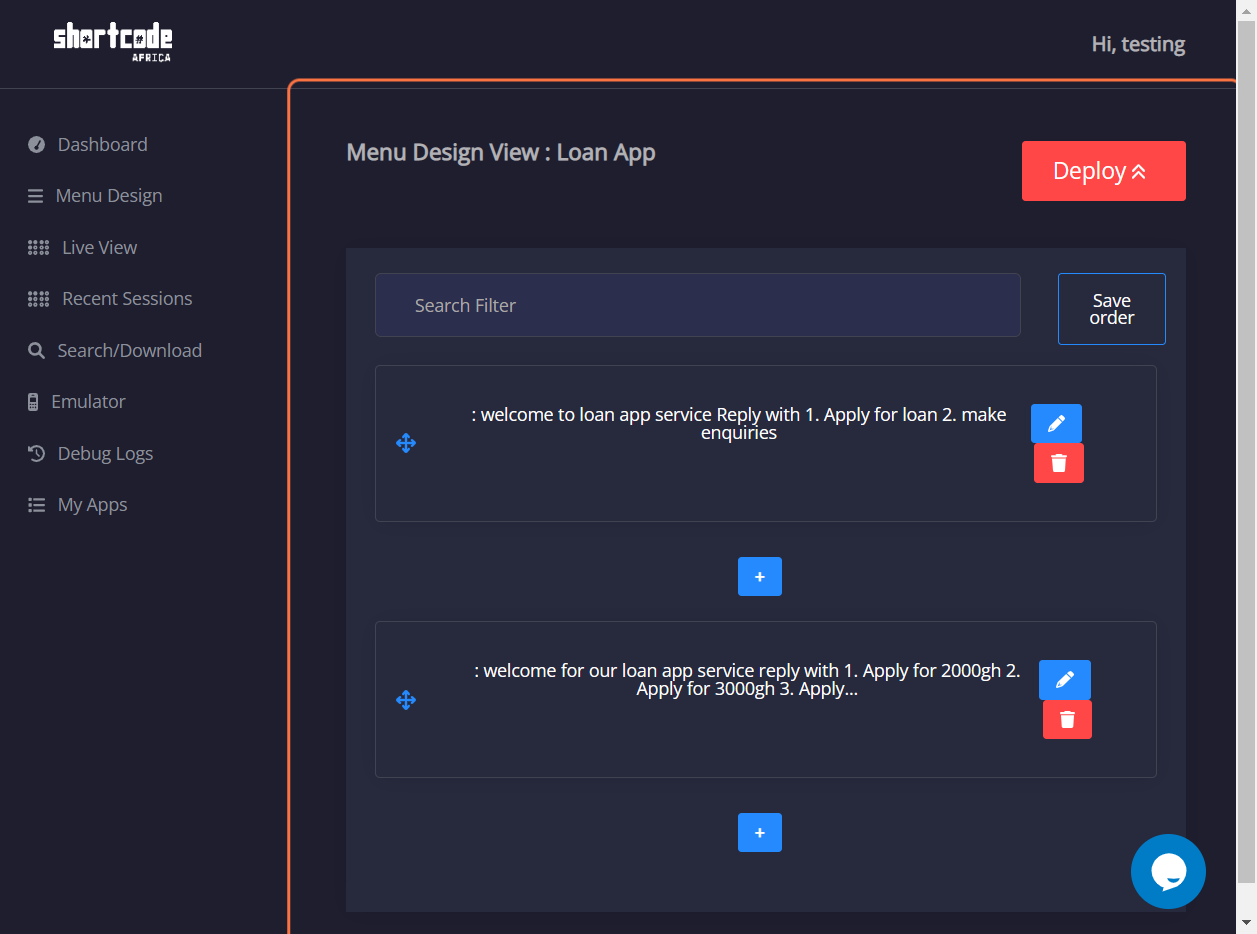
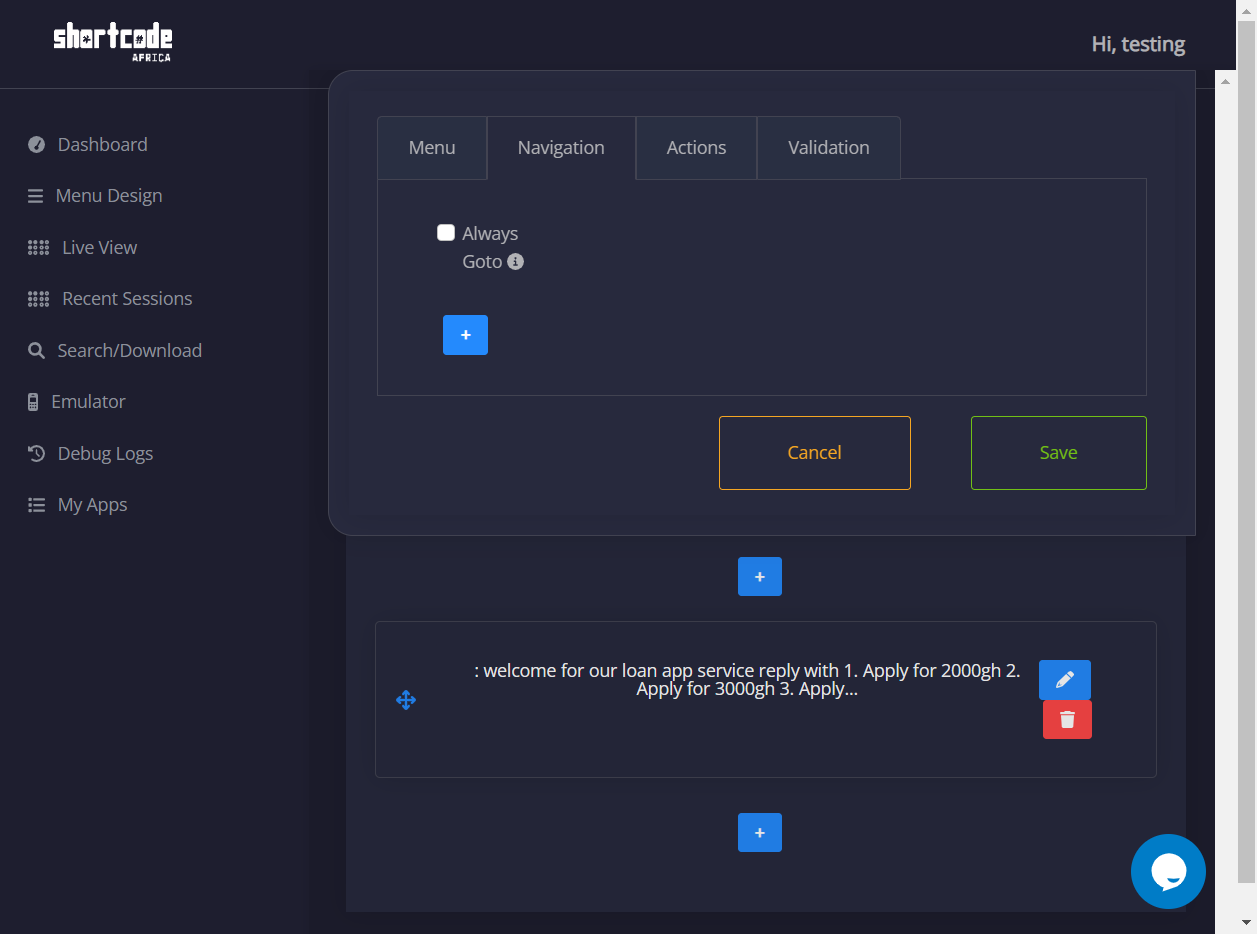
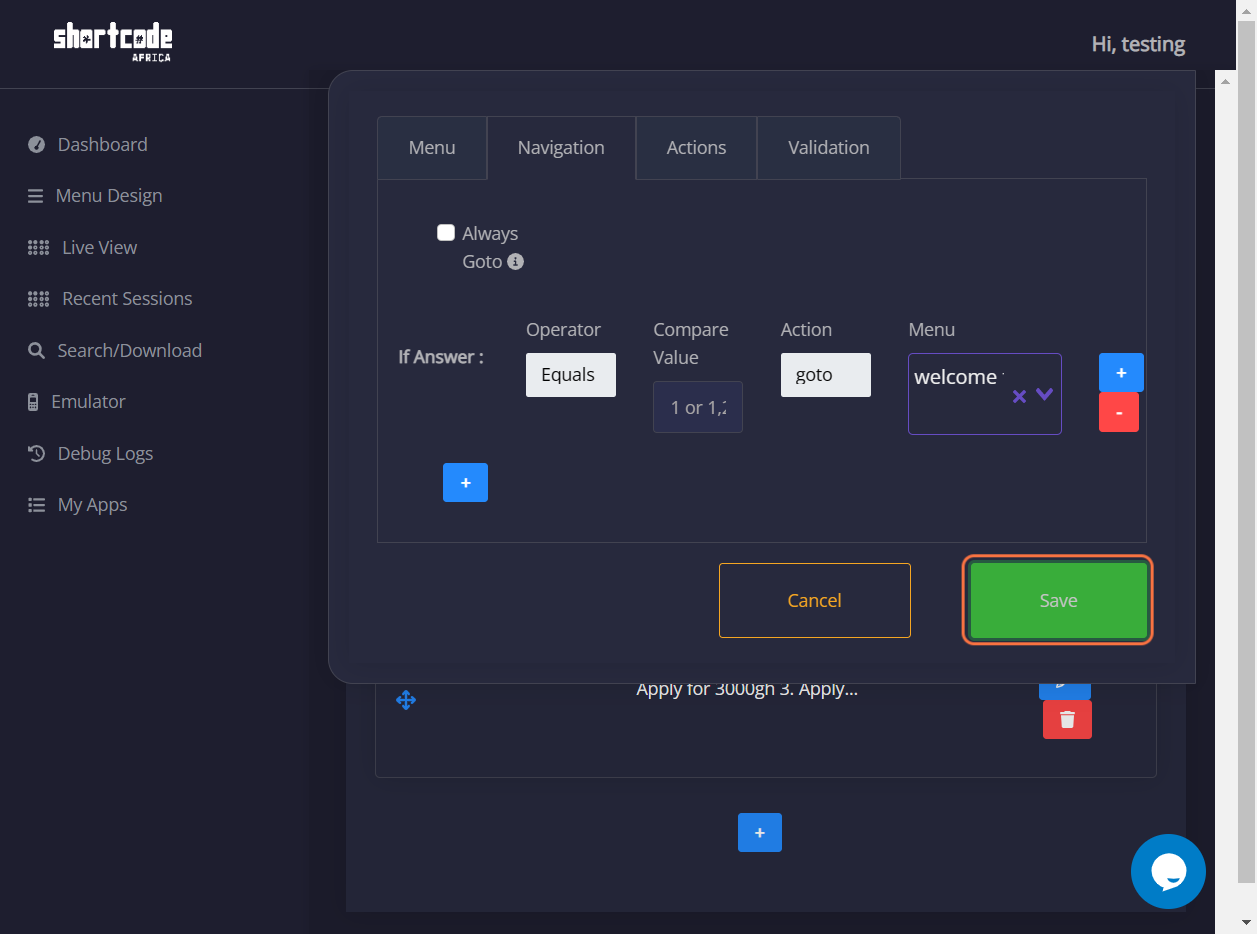
19. On Menu Design View Page, Click on the blue icon with the + symbol to add sub-menu

20. Click on Edit button
21. Click on Navigation
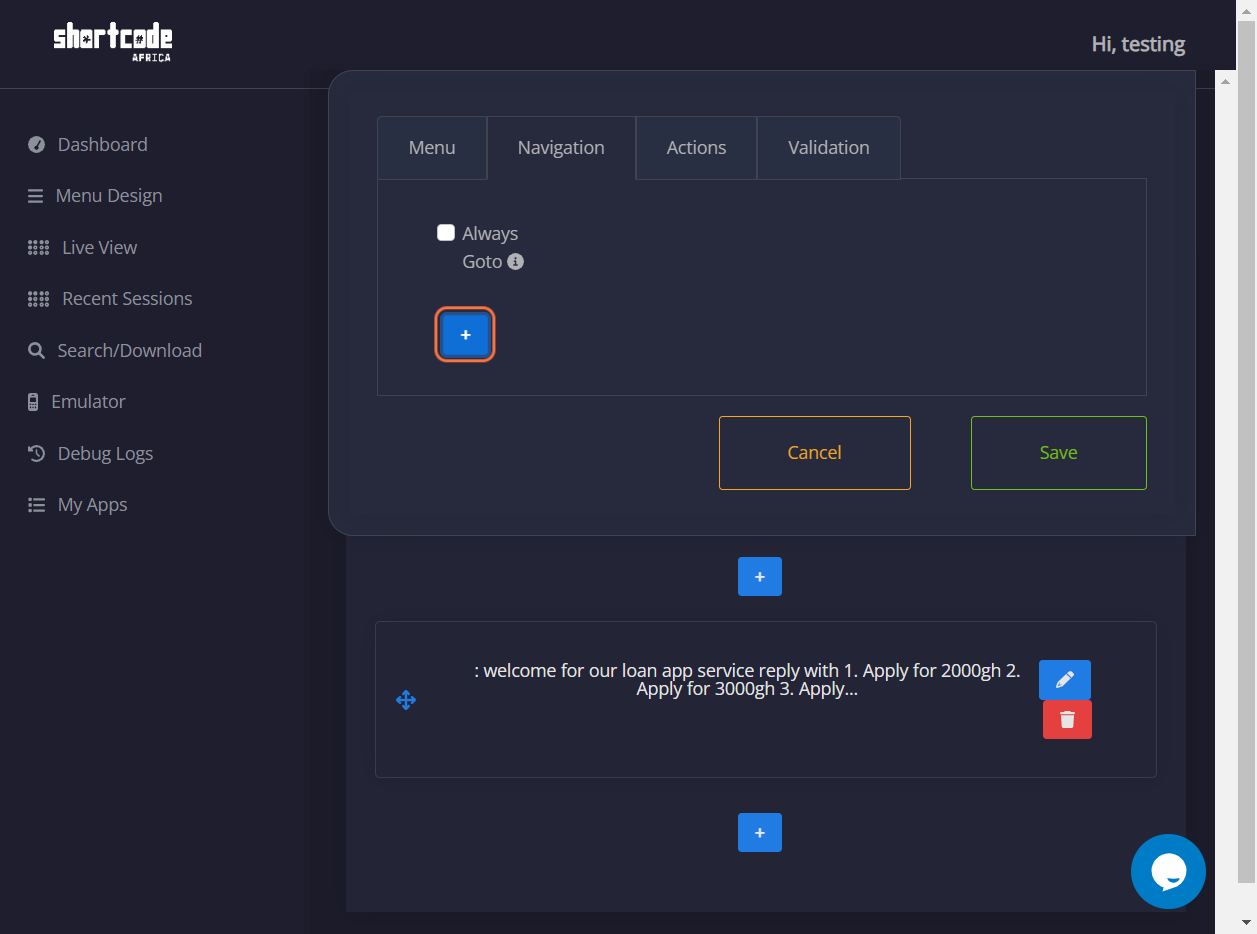
22. Click on the blue icon with the + symbol

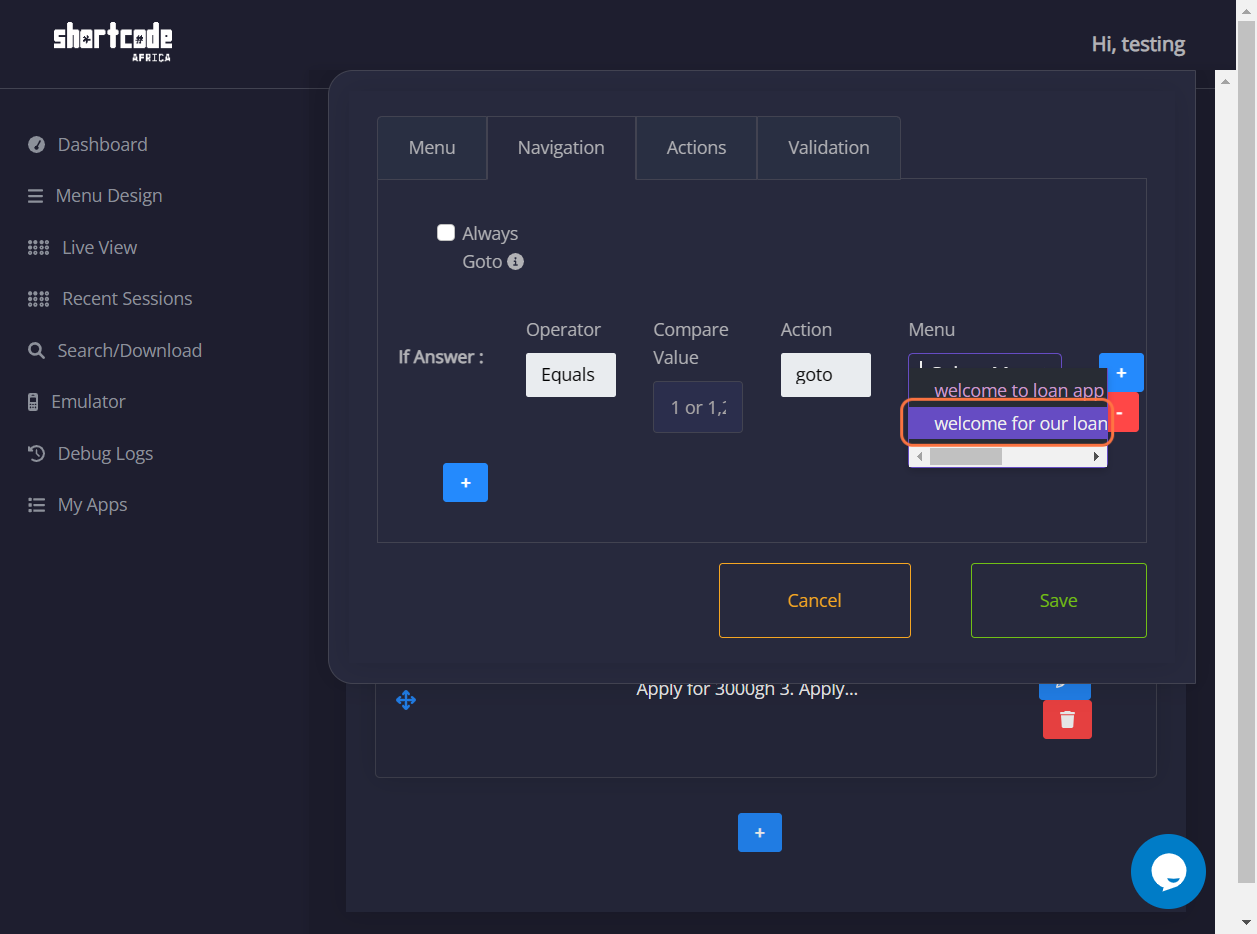
23. Click on Menu and select from the drop list
25. Click on Save
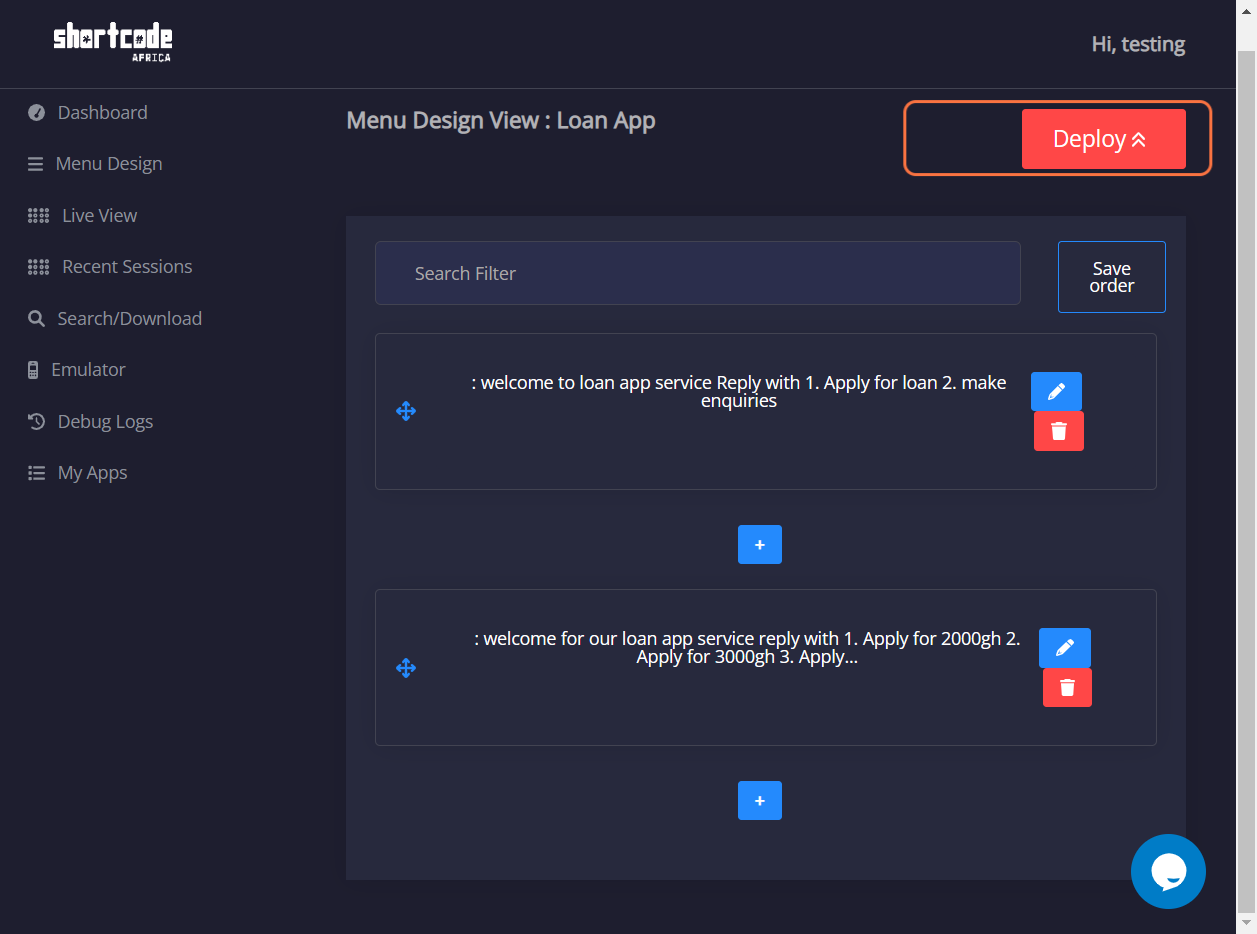
26. Click on Menu Design View : Loan App…
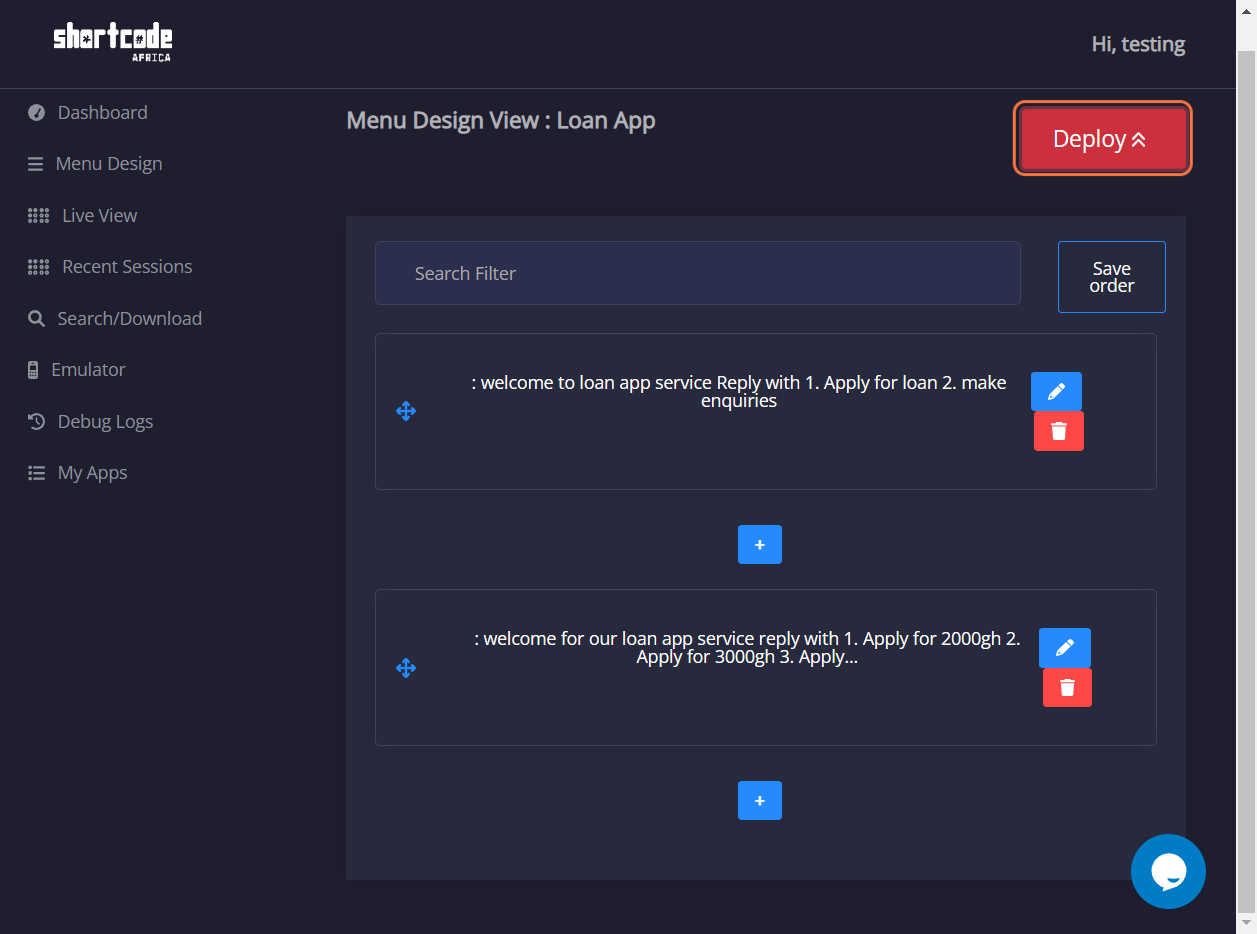
27. Click on Deploy

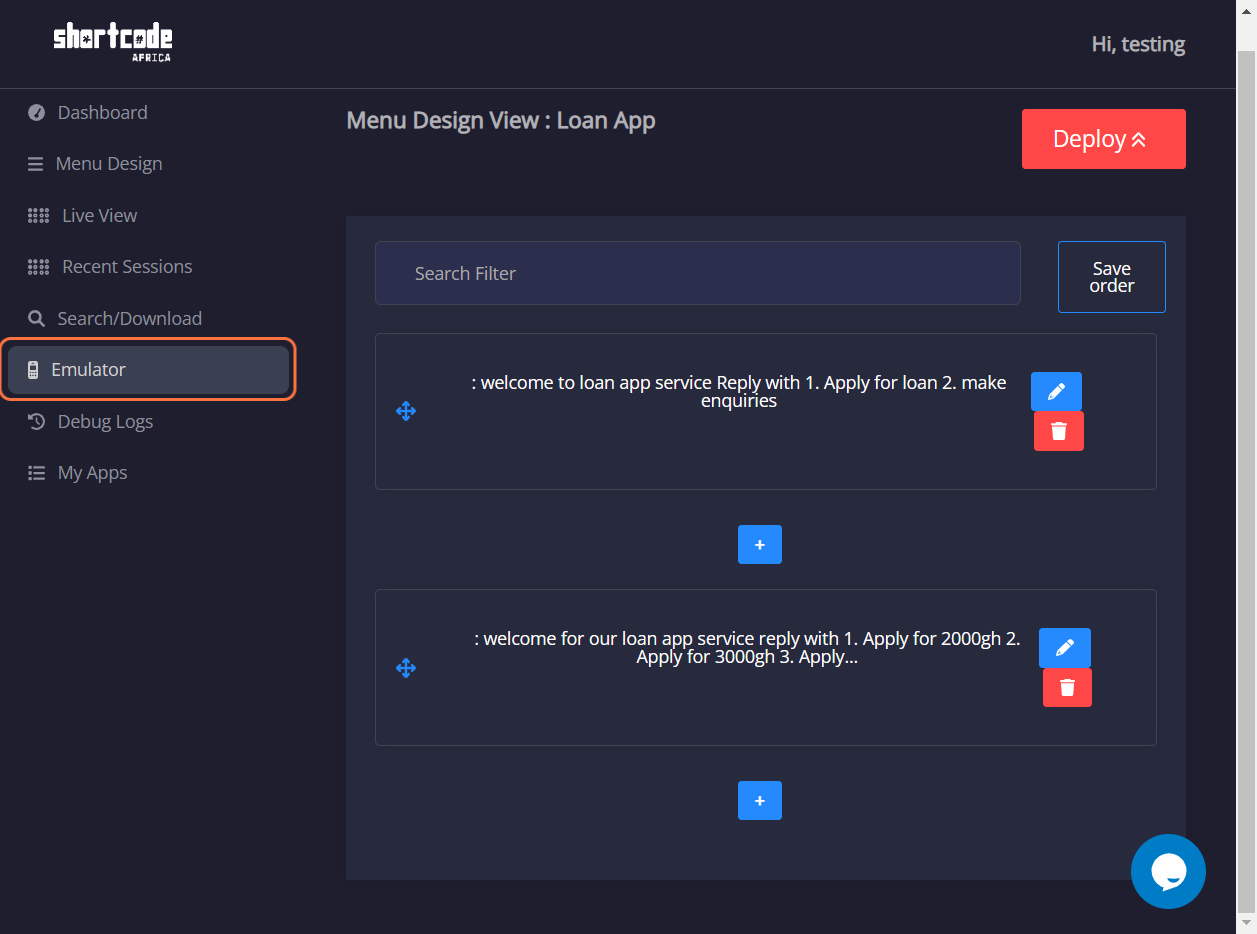
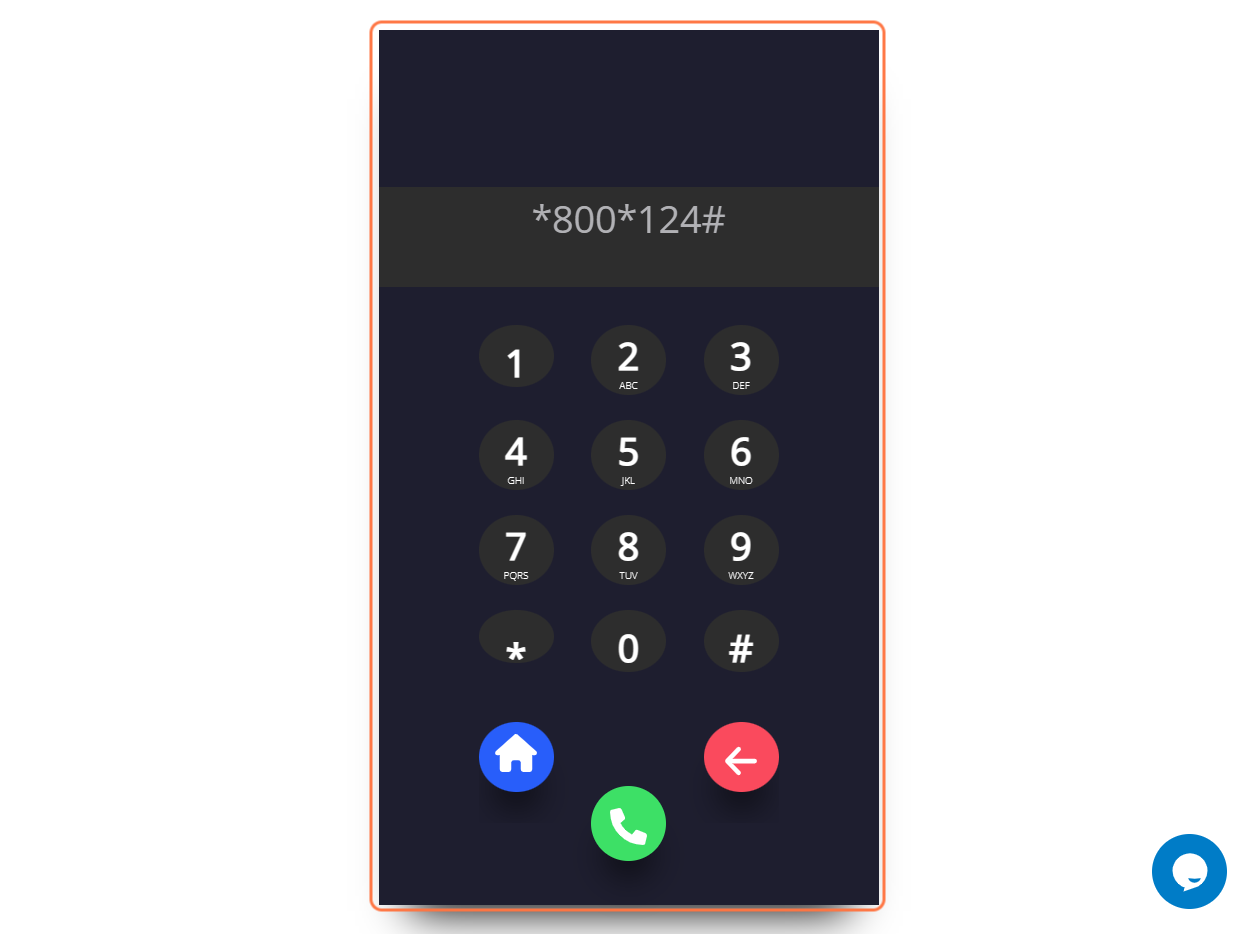
29. Click on Emulator
30. Click on 800124#…
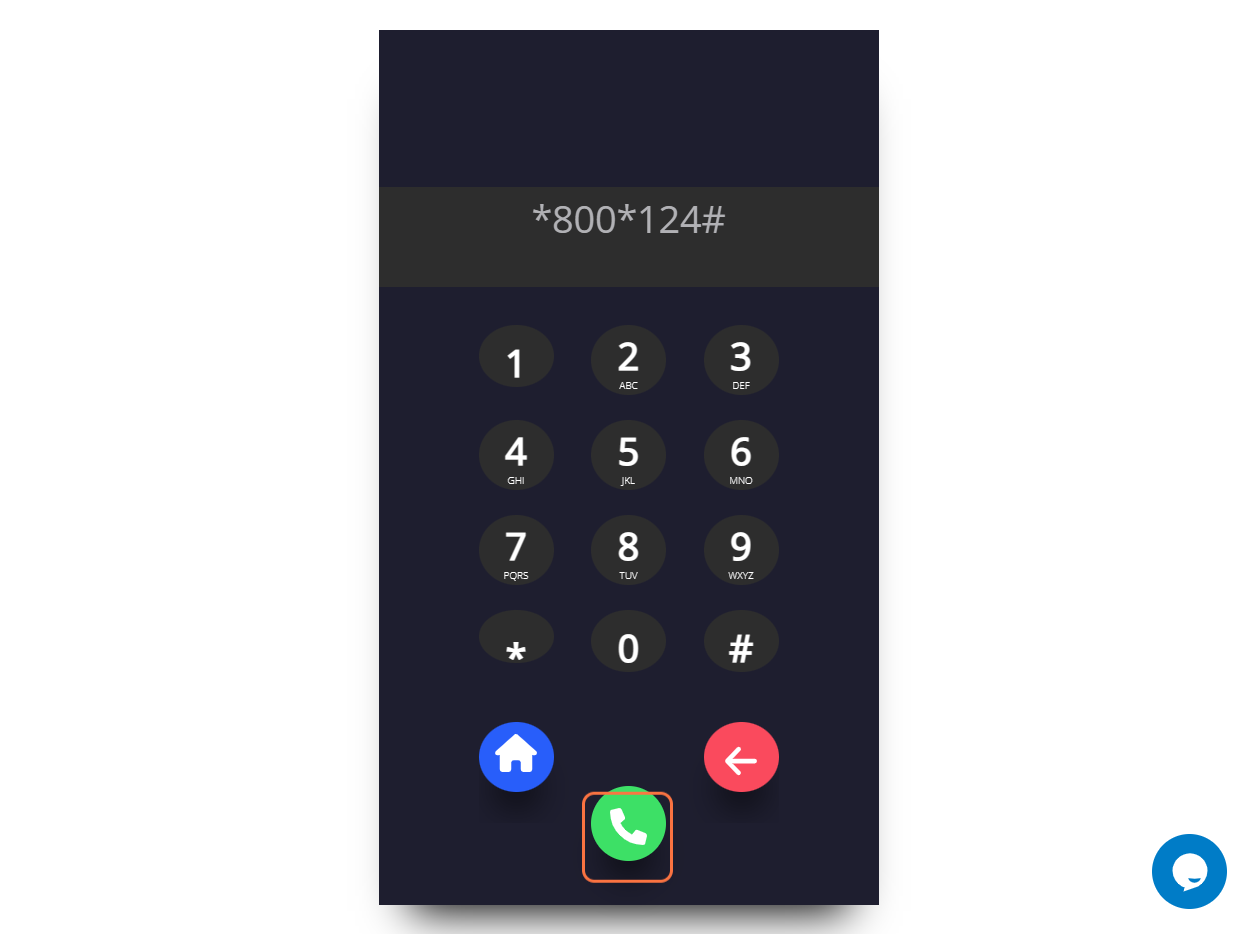
31. Click on highlight

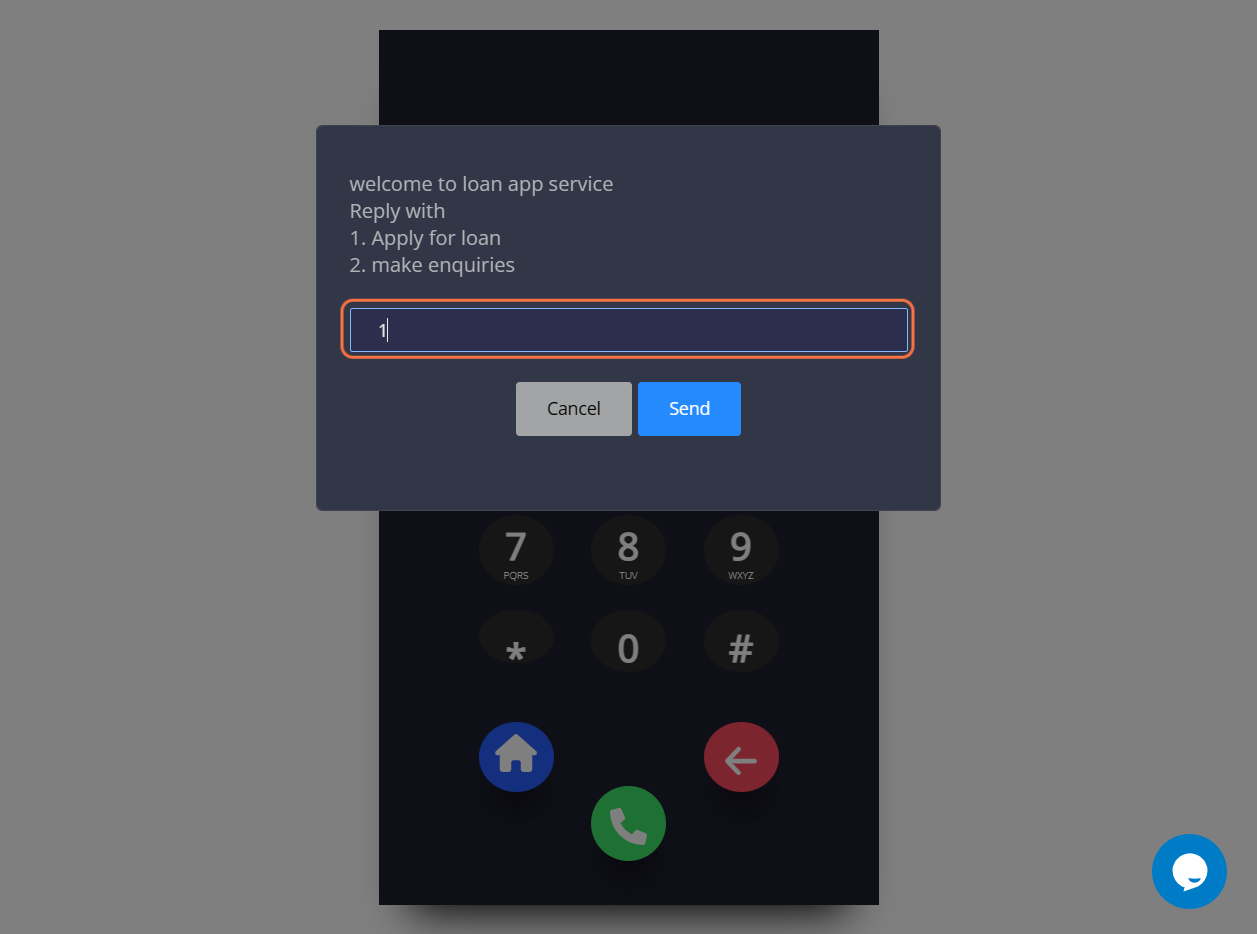
32. Type "1"
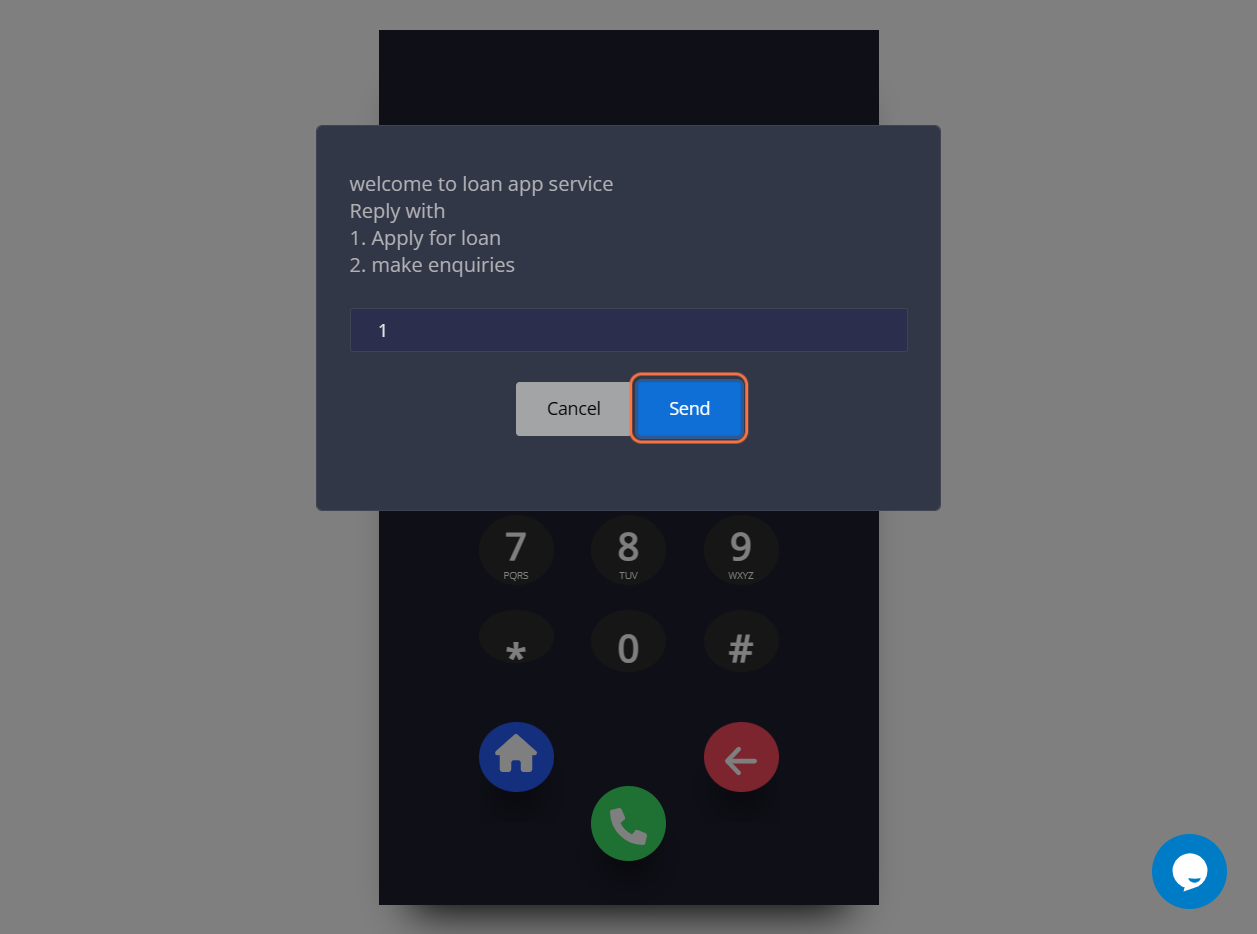
33. Click on Send
34. Click on dialog
35. Click on dialog
36. Click on dialog
37. Click on dialog
38. Click on dialog
37. Click on dialog
37. Click on dialog